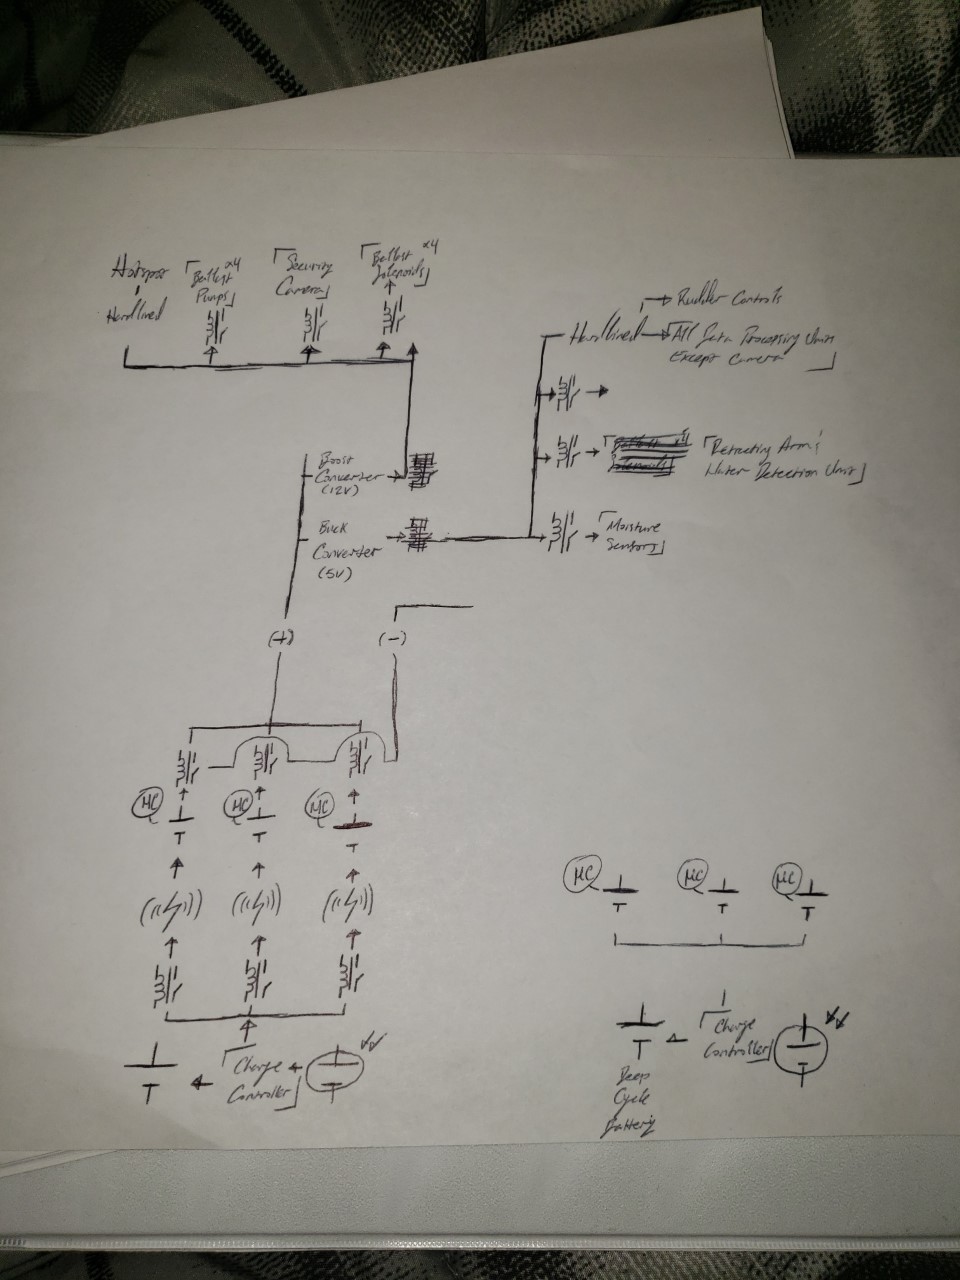
Arduino Automated Compost (Documentation)

Project Black Gold:

(Manual Version)

Objectives:

  1. Construct an indoor compost able to maintain itself all year.

  2. Maintain compost heat to promote bacterial growth & breakdown of buried food items.

  3. Monitor soil moisture & hydrate it accordingly via RF signaling to water reservoir or alert user to dryness.

  4. Set automated timer that alert user to verify & replace soil moisture sensors as needed if corroded.

Continue reading “Arduino Automated Compost (Documentation)”

Arduino Home Security System (Initial)

Project Castle Guardian

Objectives:

  1. Detect, alert, & actively monitor household when user is away via Amazon cloud camera & Arduino automation.

  2. Have system wirelessly activate & deactivate by user input to stop monitoring when at home.

  3. Develop camera manager unit that wirelessly manipulates all camera units via IR remote sensor.

Continue reading “Arduino Home Security System (Initial)”

Automated Compost 2.0 (Initial Phase)

In a past YouTube video I discussed having an automated compost heap complete with heating, watering, and moisture detection. After a bit of research and trial and error, I’ve found a much better way to build the automated compost so that its better looking and more practical for an automated system.

The Soil

The soil will be low quality store bought soil of the lowest grade and quality. The point is to demonstrate that poor soil can be enriched as you decompose food items into it, aerate it, and water the soil when its dry. After a period of about two months the originally bad soil will be transformed into better soil, after five months of treatment I expect the soil to be ready for planting as the proper amount of nutrients have been added.

Continue reading “Automated Compost 2.0 (Initial Phase)”

New ATMega FTDI/ Unit Updates

Check Out Our Other Arduino Based Posts![/su_button]After a lot of inspecting, making, remaking my ATMega units, I’ve come to the conclusion that the issue isn’t with my ability to make them, but the FTDI programmer I’m using. I used to use this one, but as its description says, its not a genuine FTDI, so my computer likely bricked it. I bought a second one to ensure I didn’t just get a bad unit, but the replacement even stopped working. Perhaps there’s a variable I’m unaware of, but to be on the safe side I bought a genuine FTDI programmer & received it today with stunning success. Its capable of plug & play, & can program with 3.3v as well as 5v.
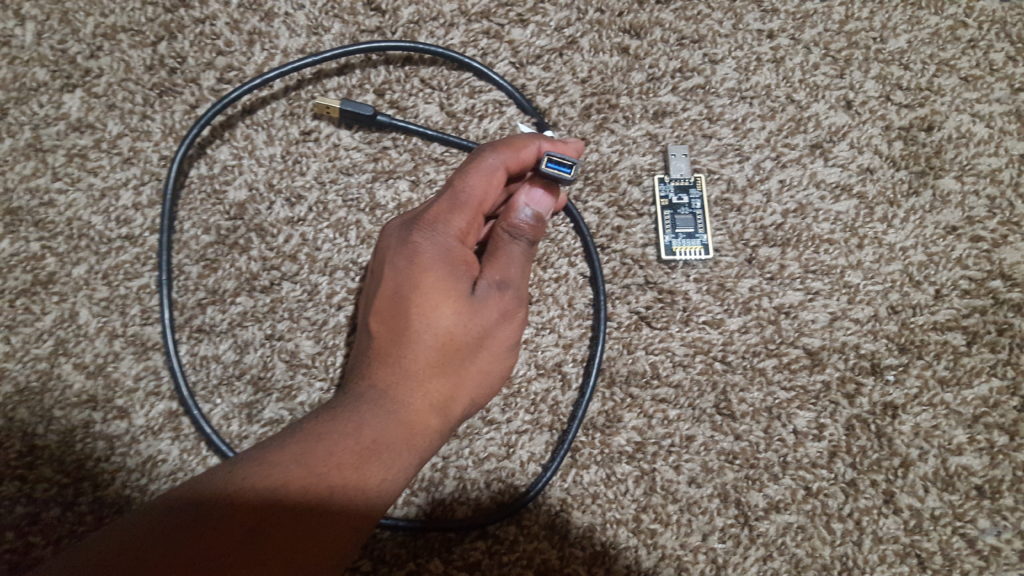
 

There are some gripes I have with the unit, one of which being that you need a M/F USB cord as the FTDI has a male connector instead of the usual female. Its weird, but is a small issue compared to how useful it is. A working FTDI means I can take the next step in my programming ventures by having a plug & play programmer to program my ATMegas. The picture below shows what I mean. I dislike having to make the pin connections, so for this ancient ATMega setup I used wires & make header pins to make it for me. A modern iteration of this setup is in the works for future use, but with major changes. Here are the public highlights:

Continue reading “New ATMega FTDI/ Unit Updates”