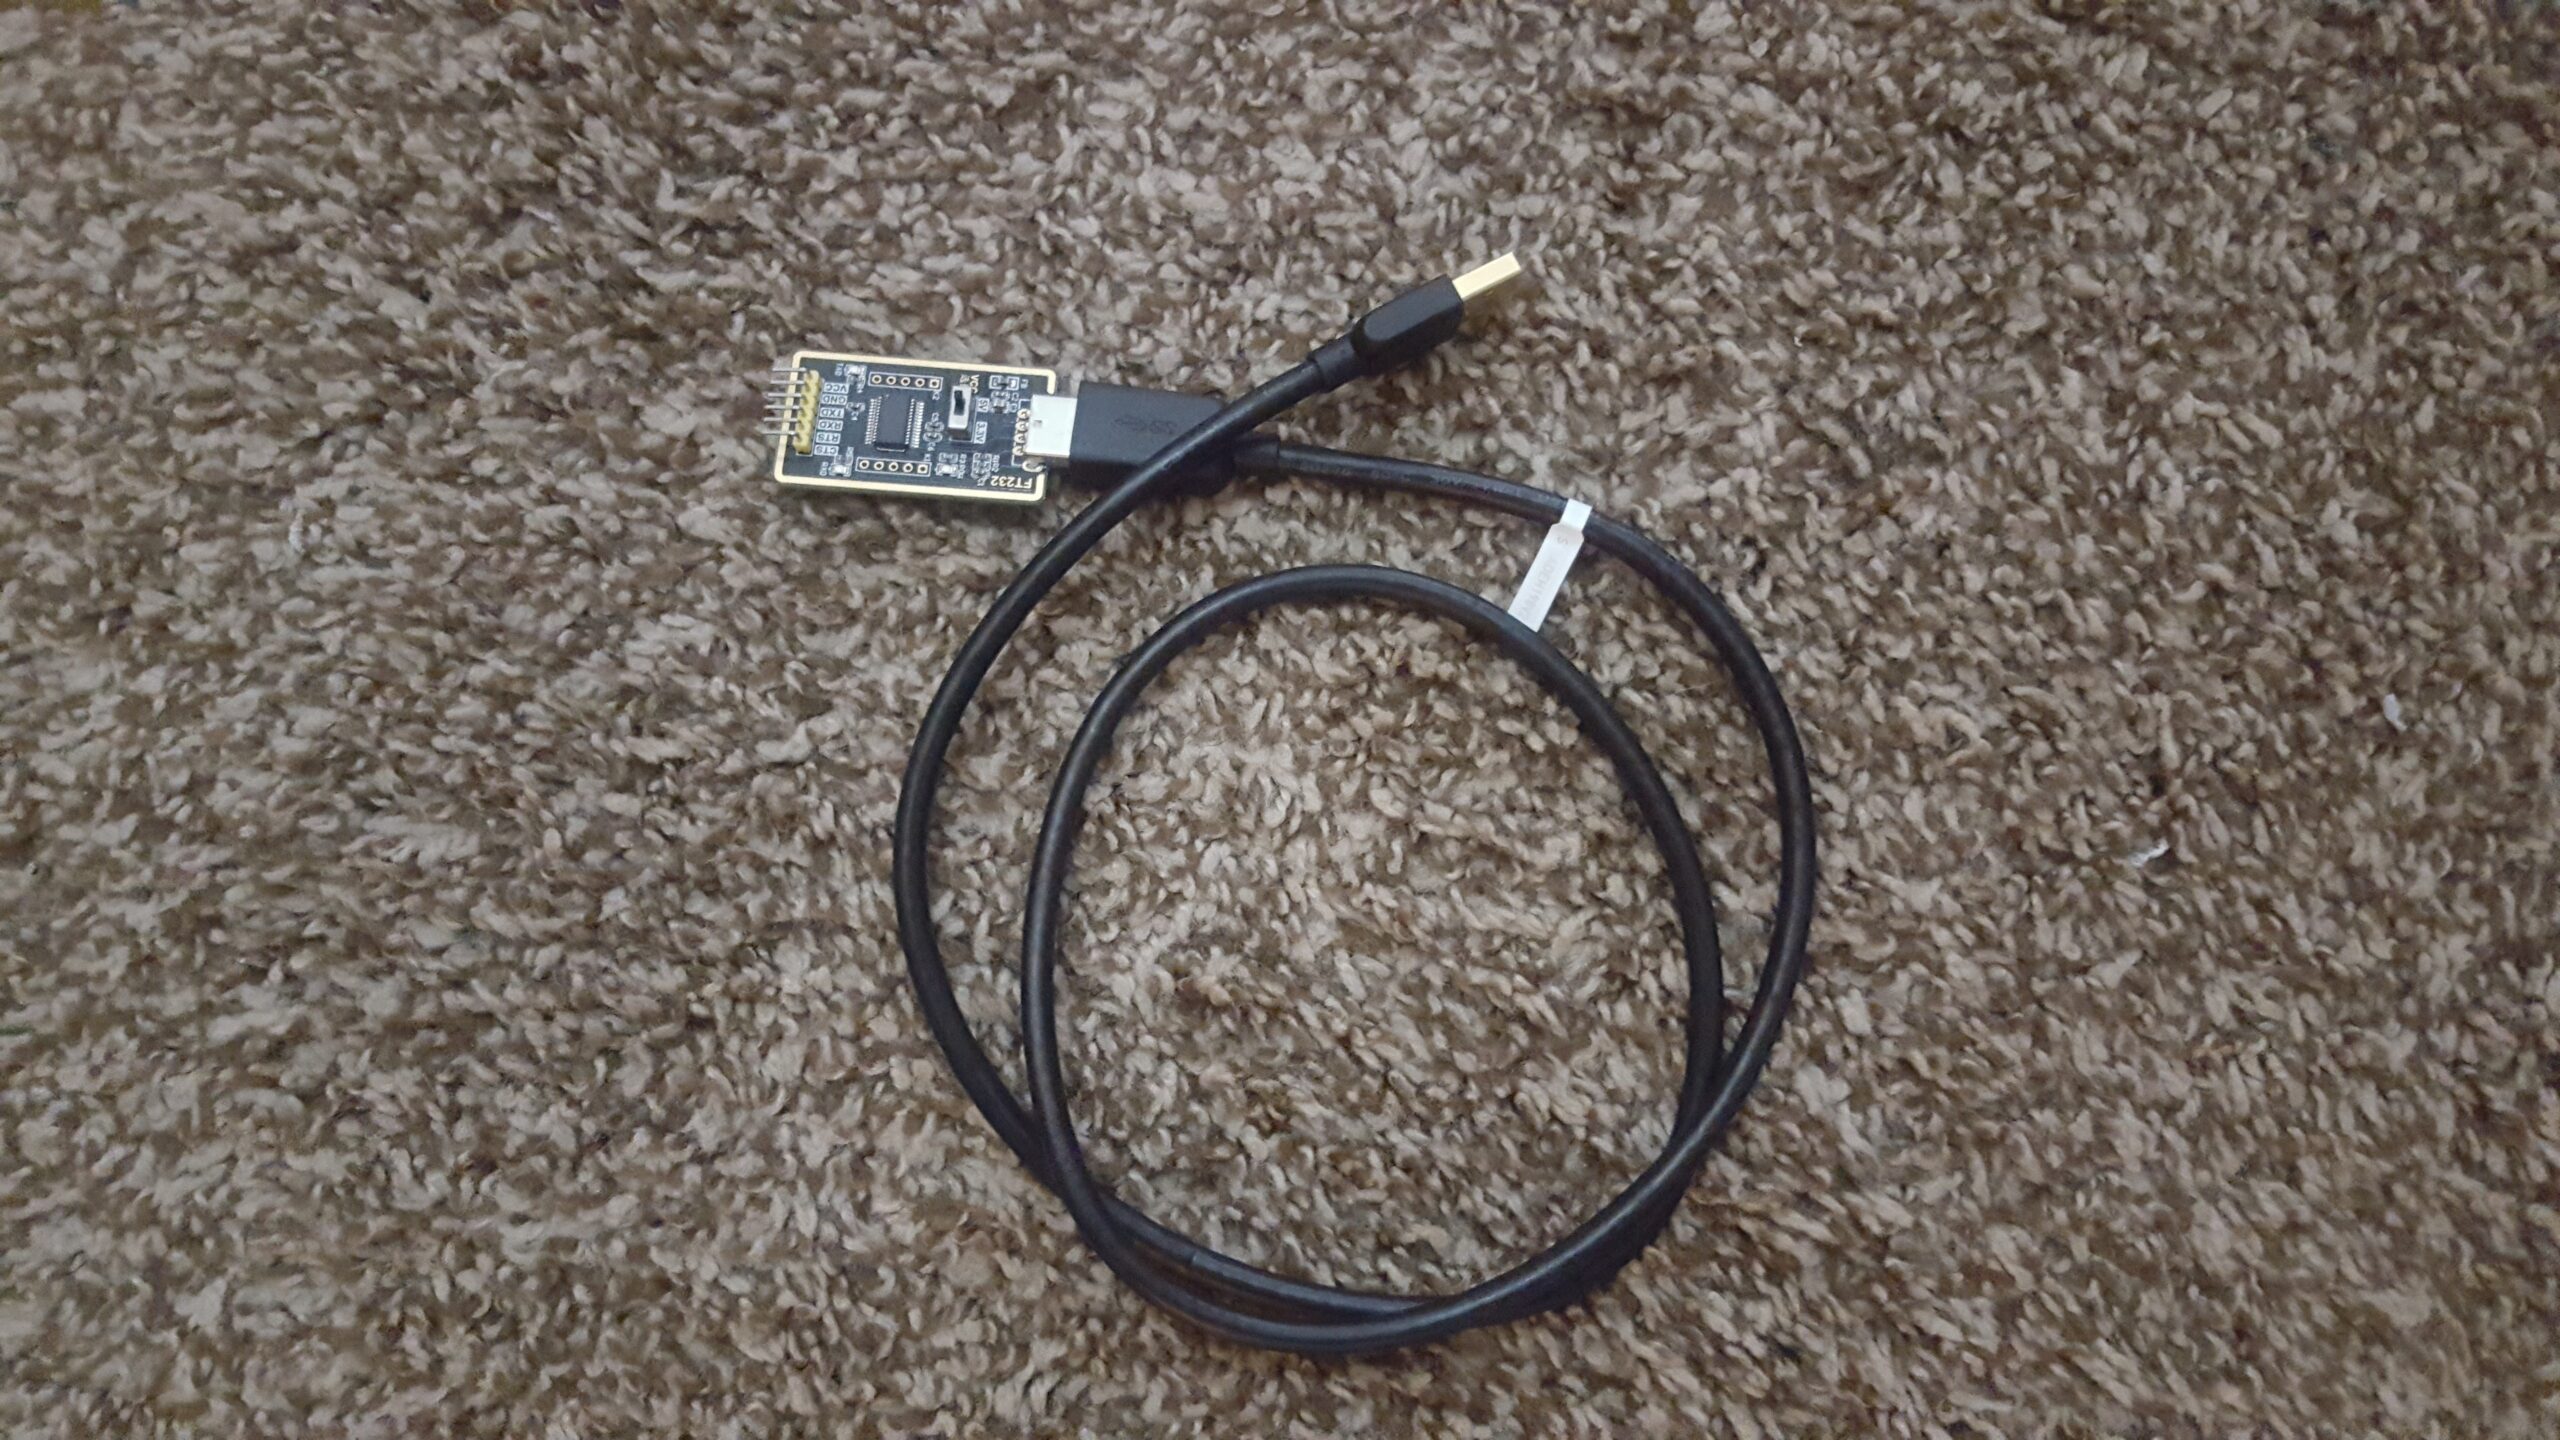
Check Out Our Other Arduino Based Posts![/su_button]After a lot of inspecting, making, remaking my ATMega units, I’ve come to the conclusion that the issue isn’t with my ability to make them, but the FTDI programmer I’m using. I used to use this one, but as its description says, its not a genuine FTDI, so my computer likely bricked it. I bought a second one to ensure I didn’t just get a bad unit, but the replacement even stopped working. Perhaps there’s a variable I’m unaware of, but to be on the safe side I bought a genuine FTDI programmer & received it today with stunning success. Its capable of plug & play, & can program with 3.3v as well as 5v.
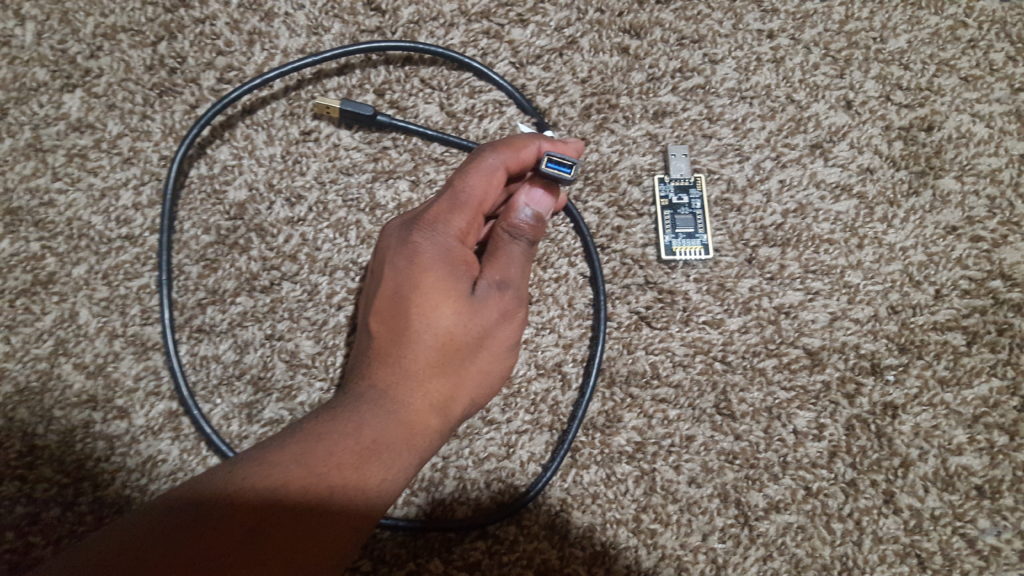
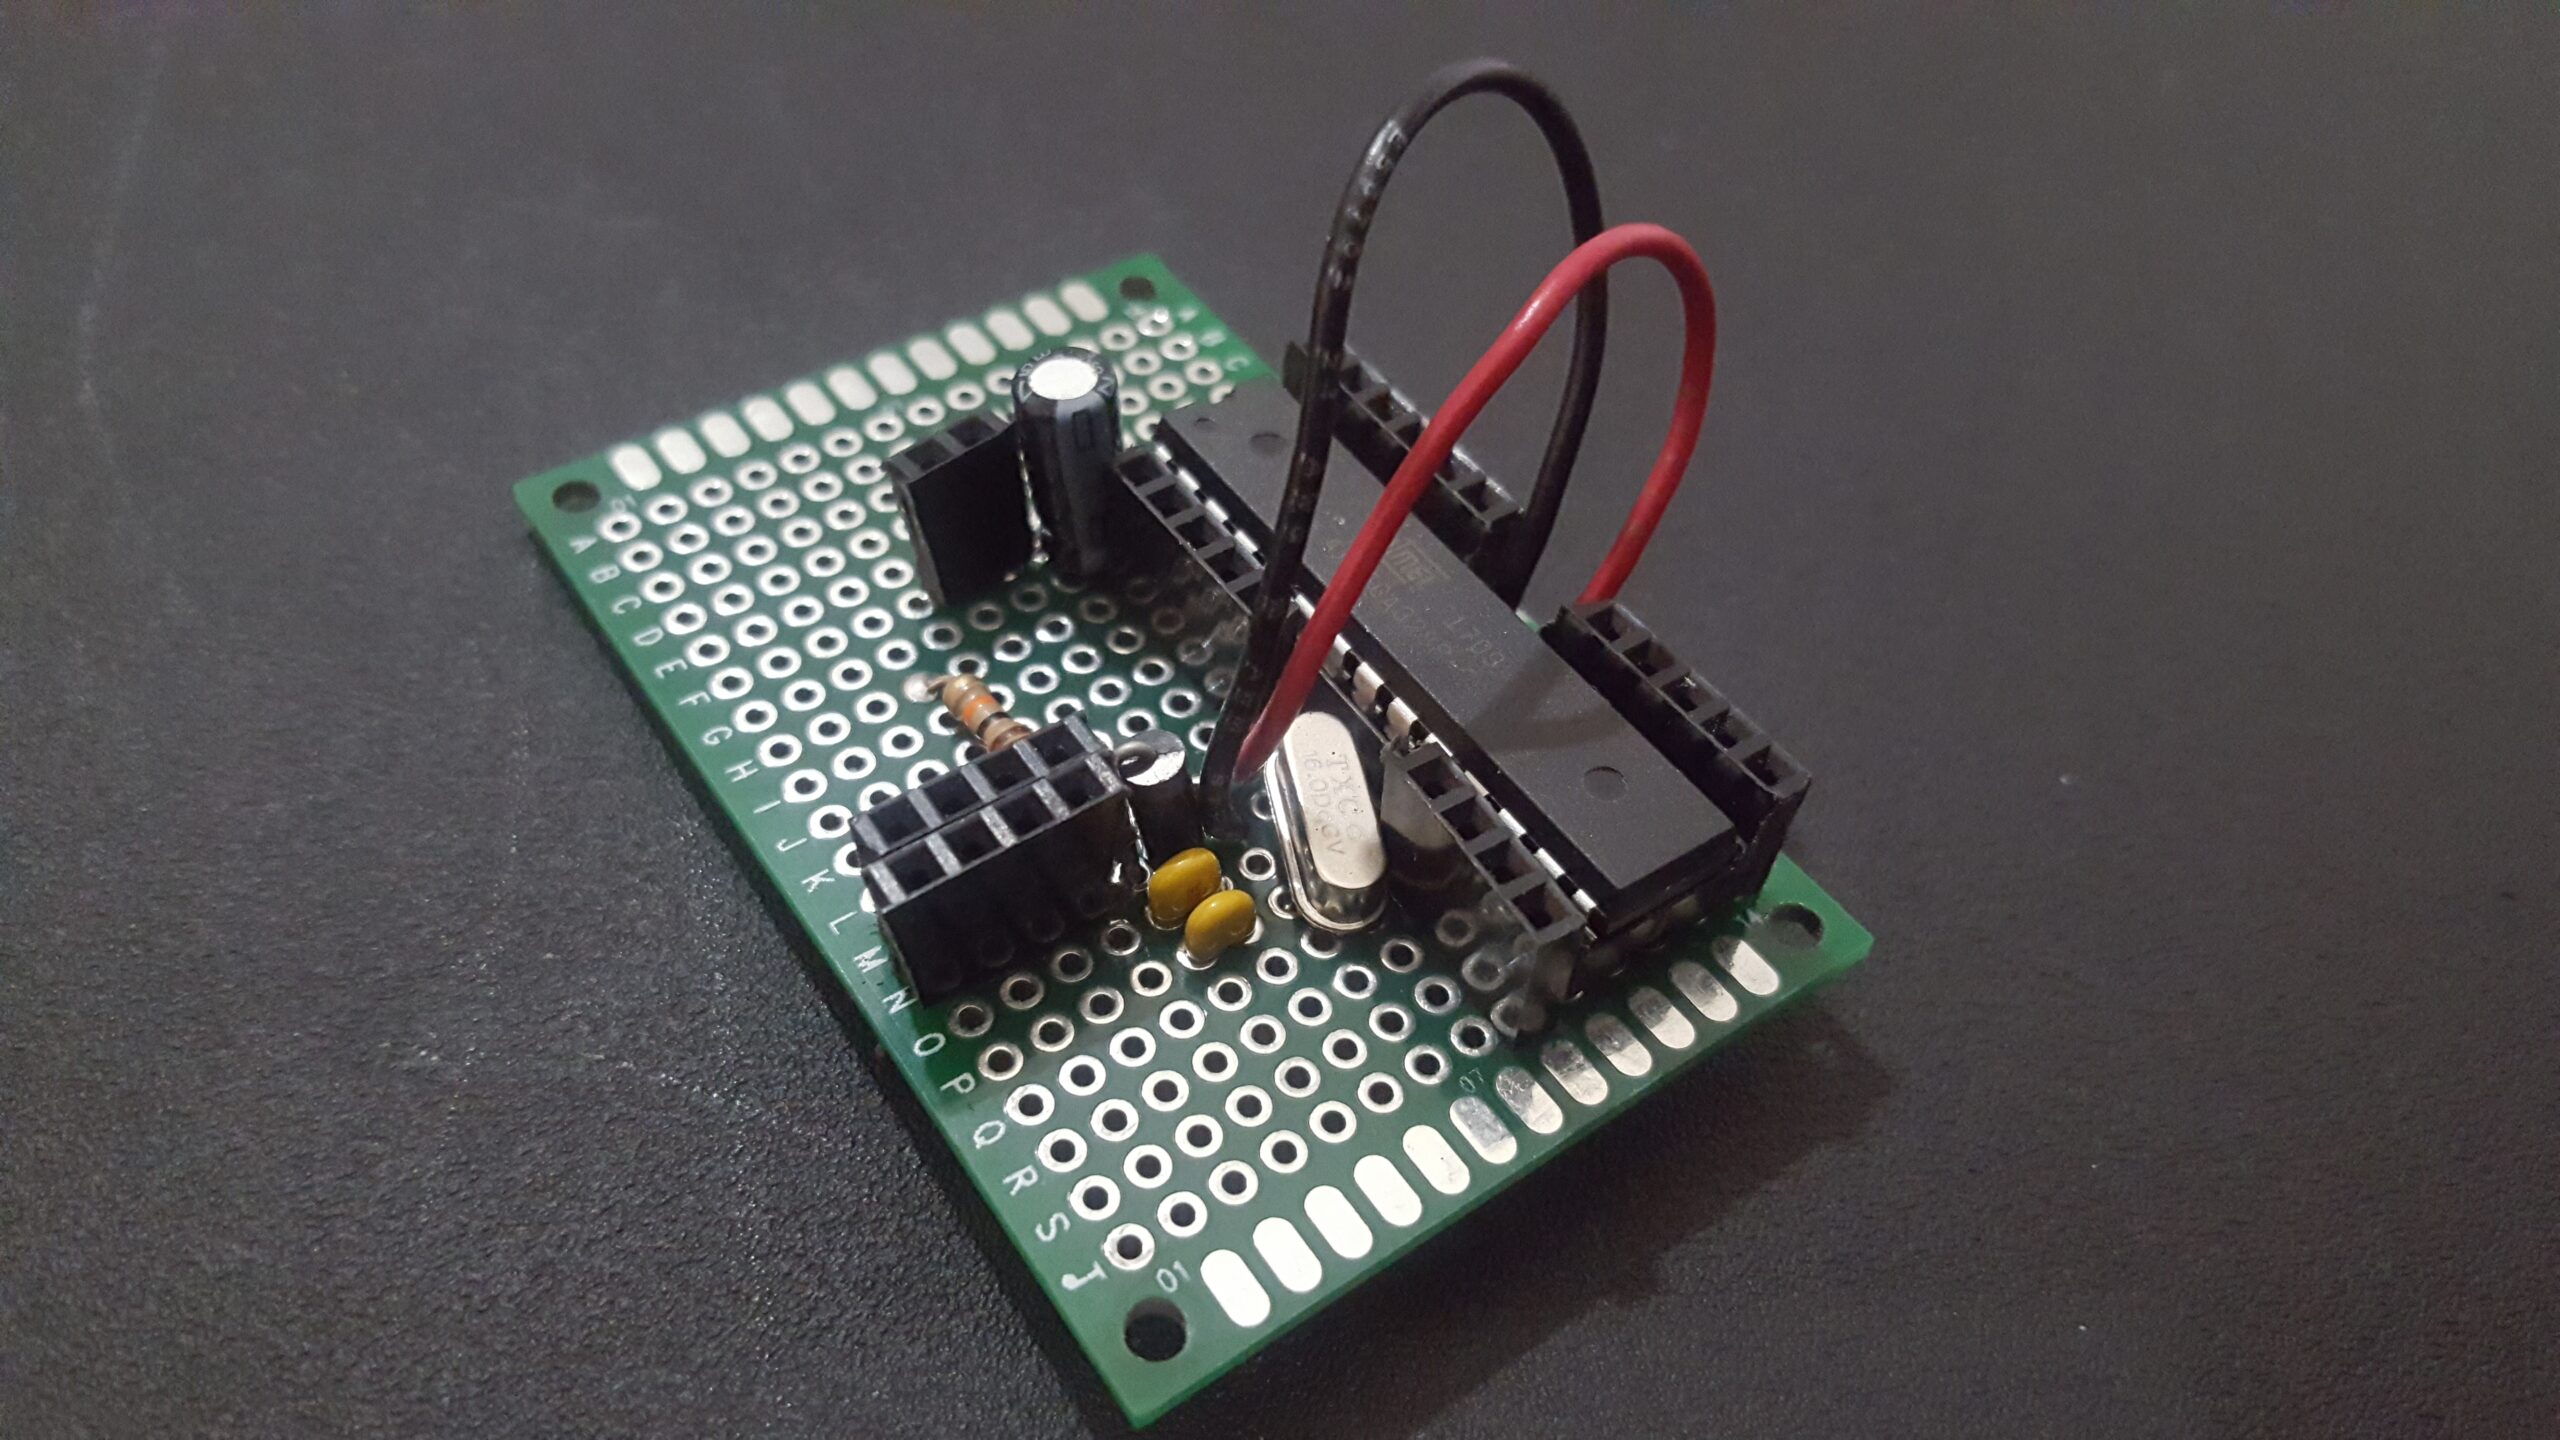
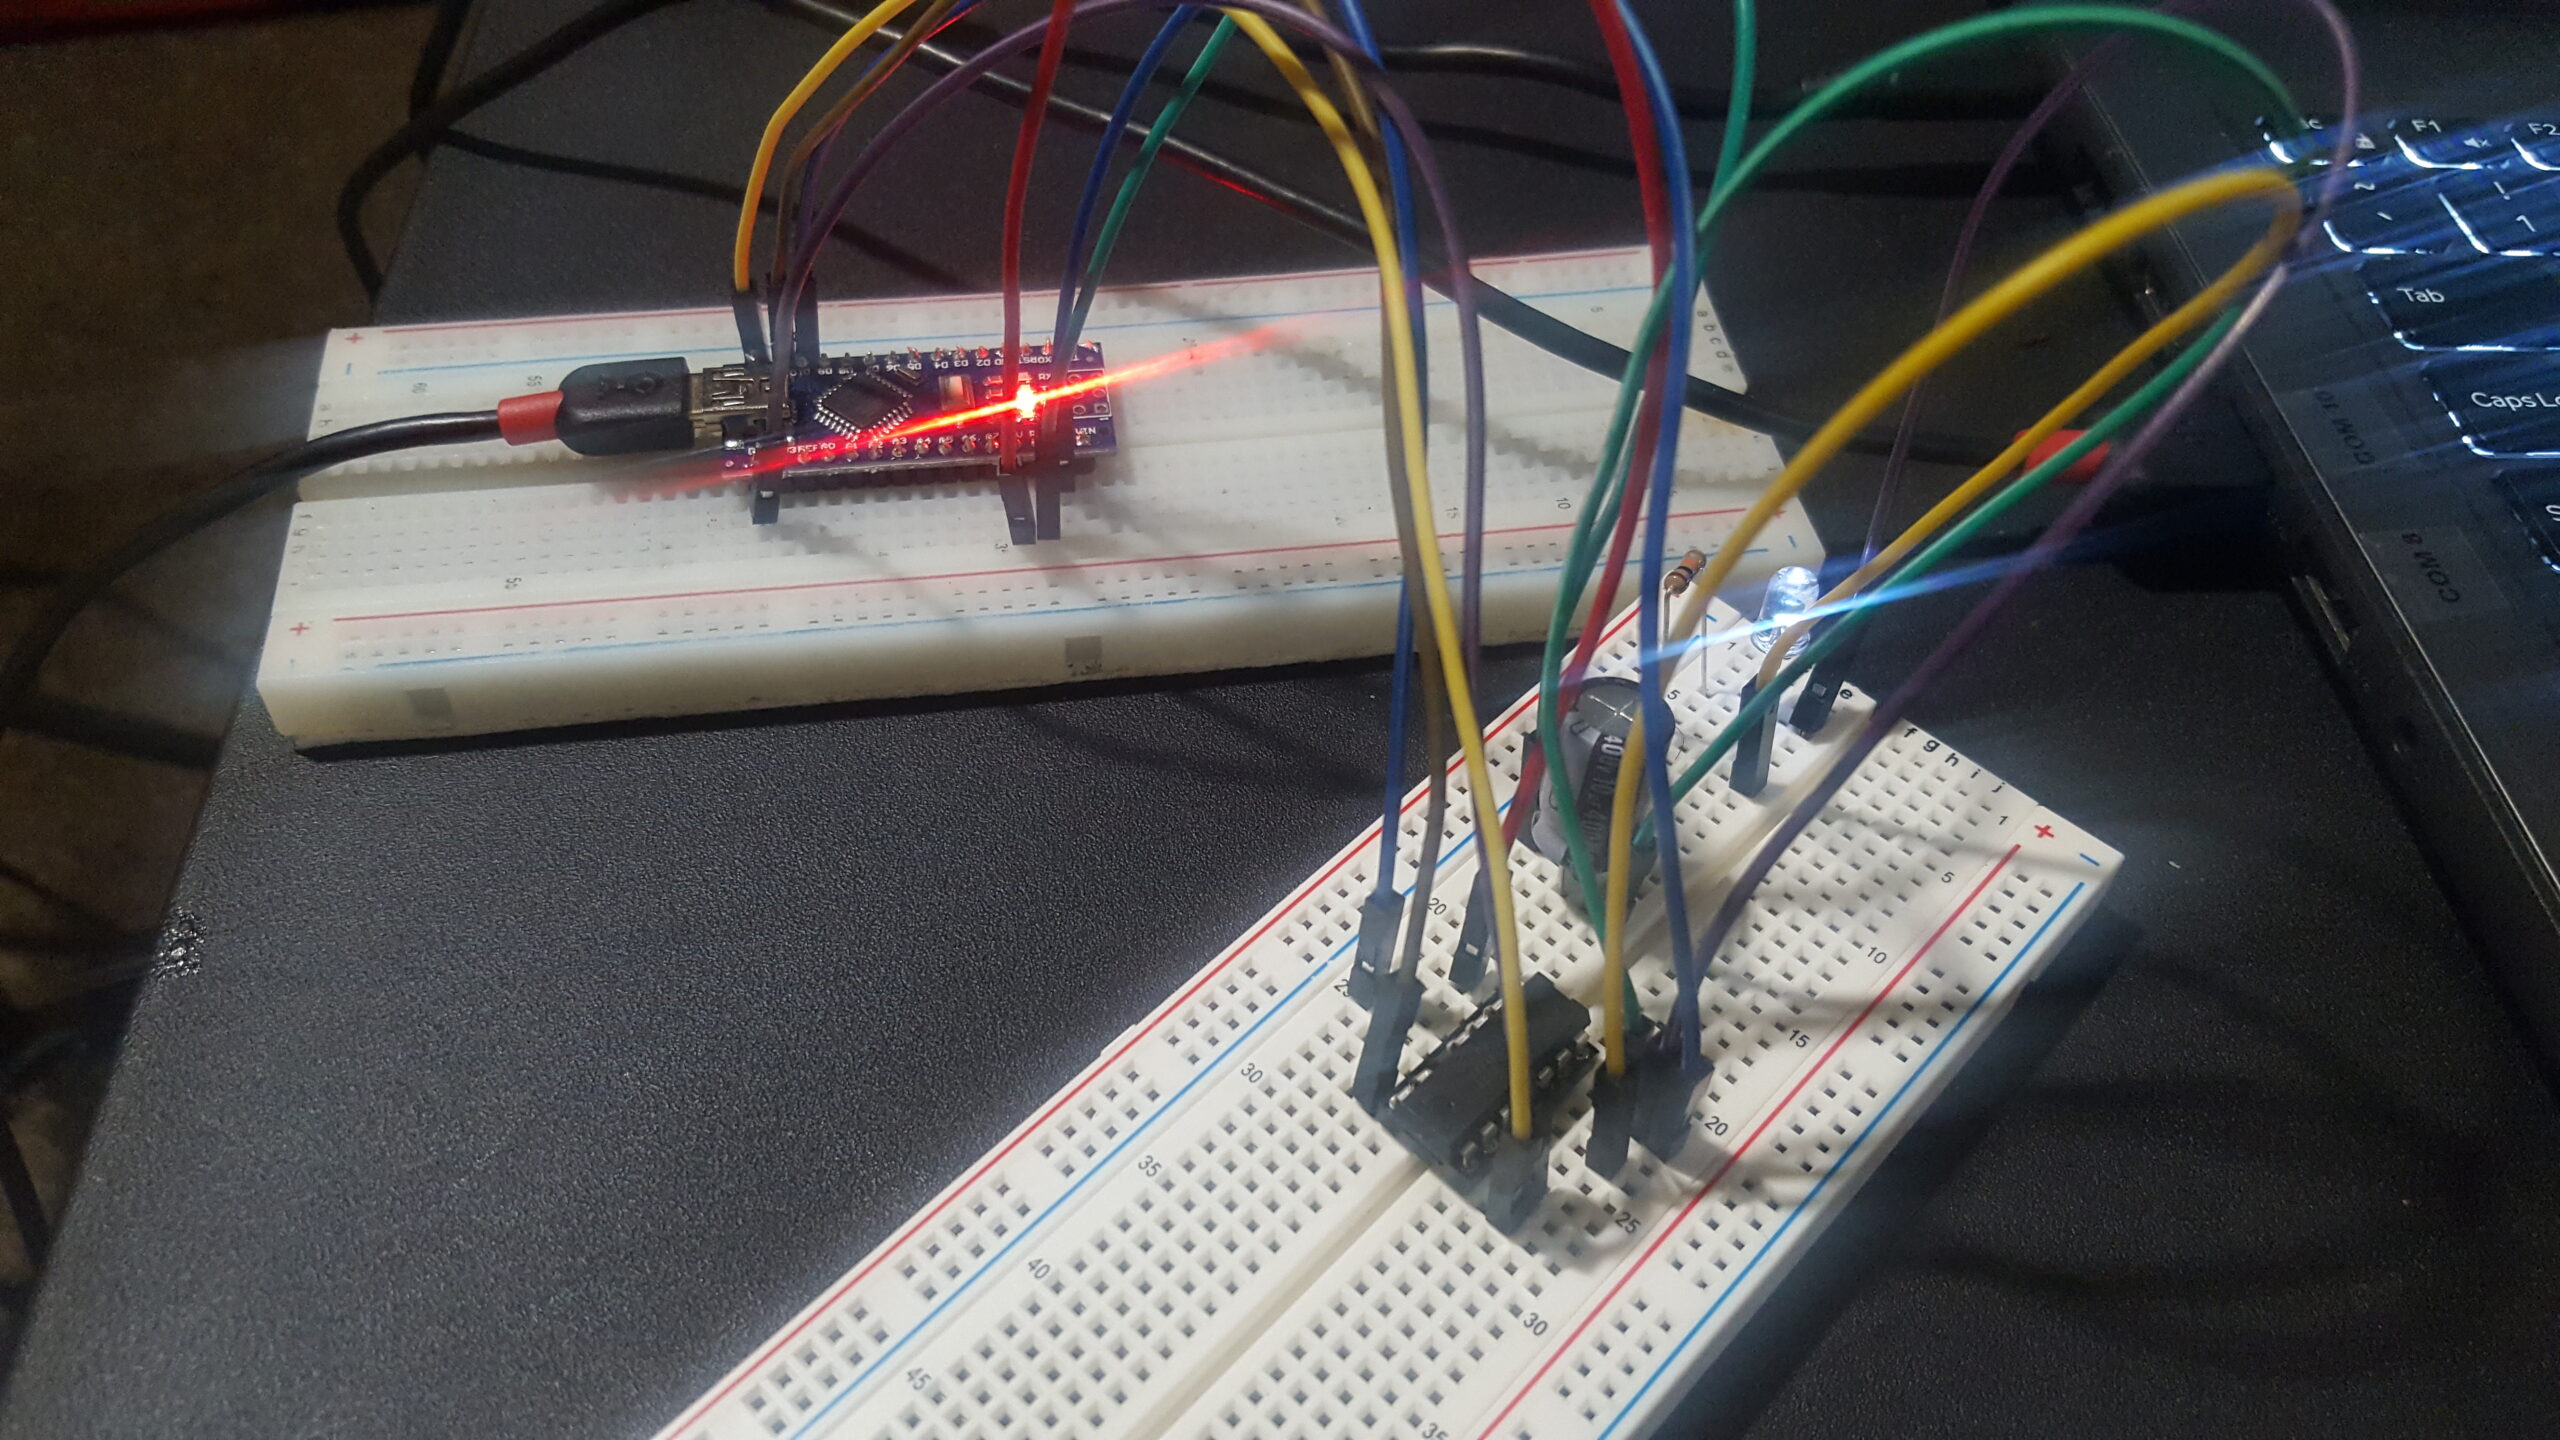
There are some gripes I have with the unit, one of which being that you need a M/F USB cord as the FTDI has a male connector instead of the usual female. Its weird, but is a small issue compared to how useful it is. A working FTDI means I can take the next step in my programming ventures by having a plug & play programmer to program my ATMegas. The picture below shows what I mean. I dislike having to make the pin connections, so for this ancient ATMega setup I used wires & make header pins to make it for me. A modern iteration of this setup is in the works for future use, but with major changes. Here are the public highlights:
Continue reading “New ATMega FTDI/ Unit Updates” →