DHT22 Replacement: The BME280

1. The Design

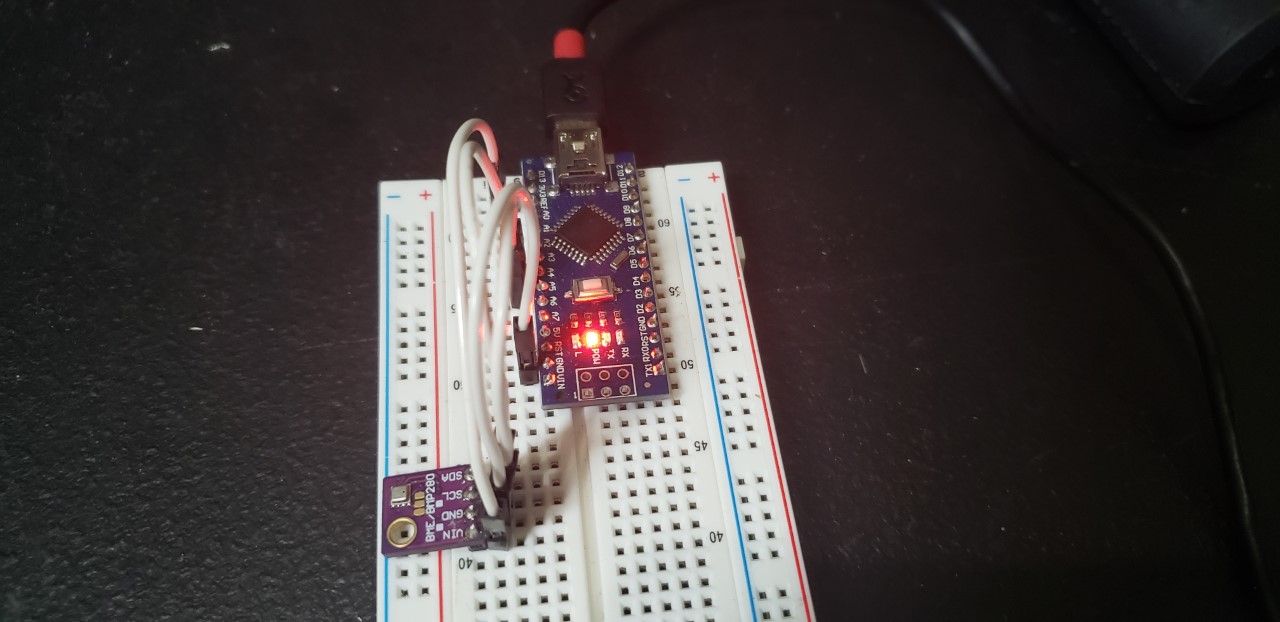
The BME280 is a cheap I2C/ SPI compatible unit capable of displaying temperature, barometric pressure, elevation, & humidity of its environment. I find that its a lot more useful than the DHT22 in that it not only requires just four wires to operate, but also doesn’t require a 10KΩ resistor & is less prone to failing. Its also a lot smaller that the DHT22 as pictured below & is overall sleeker & has a more professional look.
Continue reading “DHT22 Replacement: The BME280”

Programming The Arduino I2C LCD

The I2C LCD is a truncated version of the traditional LCD in that the six digital pins typically assigned to the Arduino are eliminated in favor of just two analog pins. In this project we will assemble an Arduino circuit that displays the current day and time on an I2C LCD screen. Use this link to be briefed on assembling the DS3231 RTC as this section focuses on the LCD only. Note that multiple I2C units can be used provided you’re using a TCA9548A I2C multiplexer.

Continue reading “Programming The Arduino I2C LCD”

Making Your Own Arduino

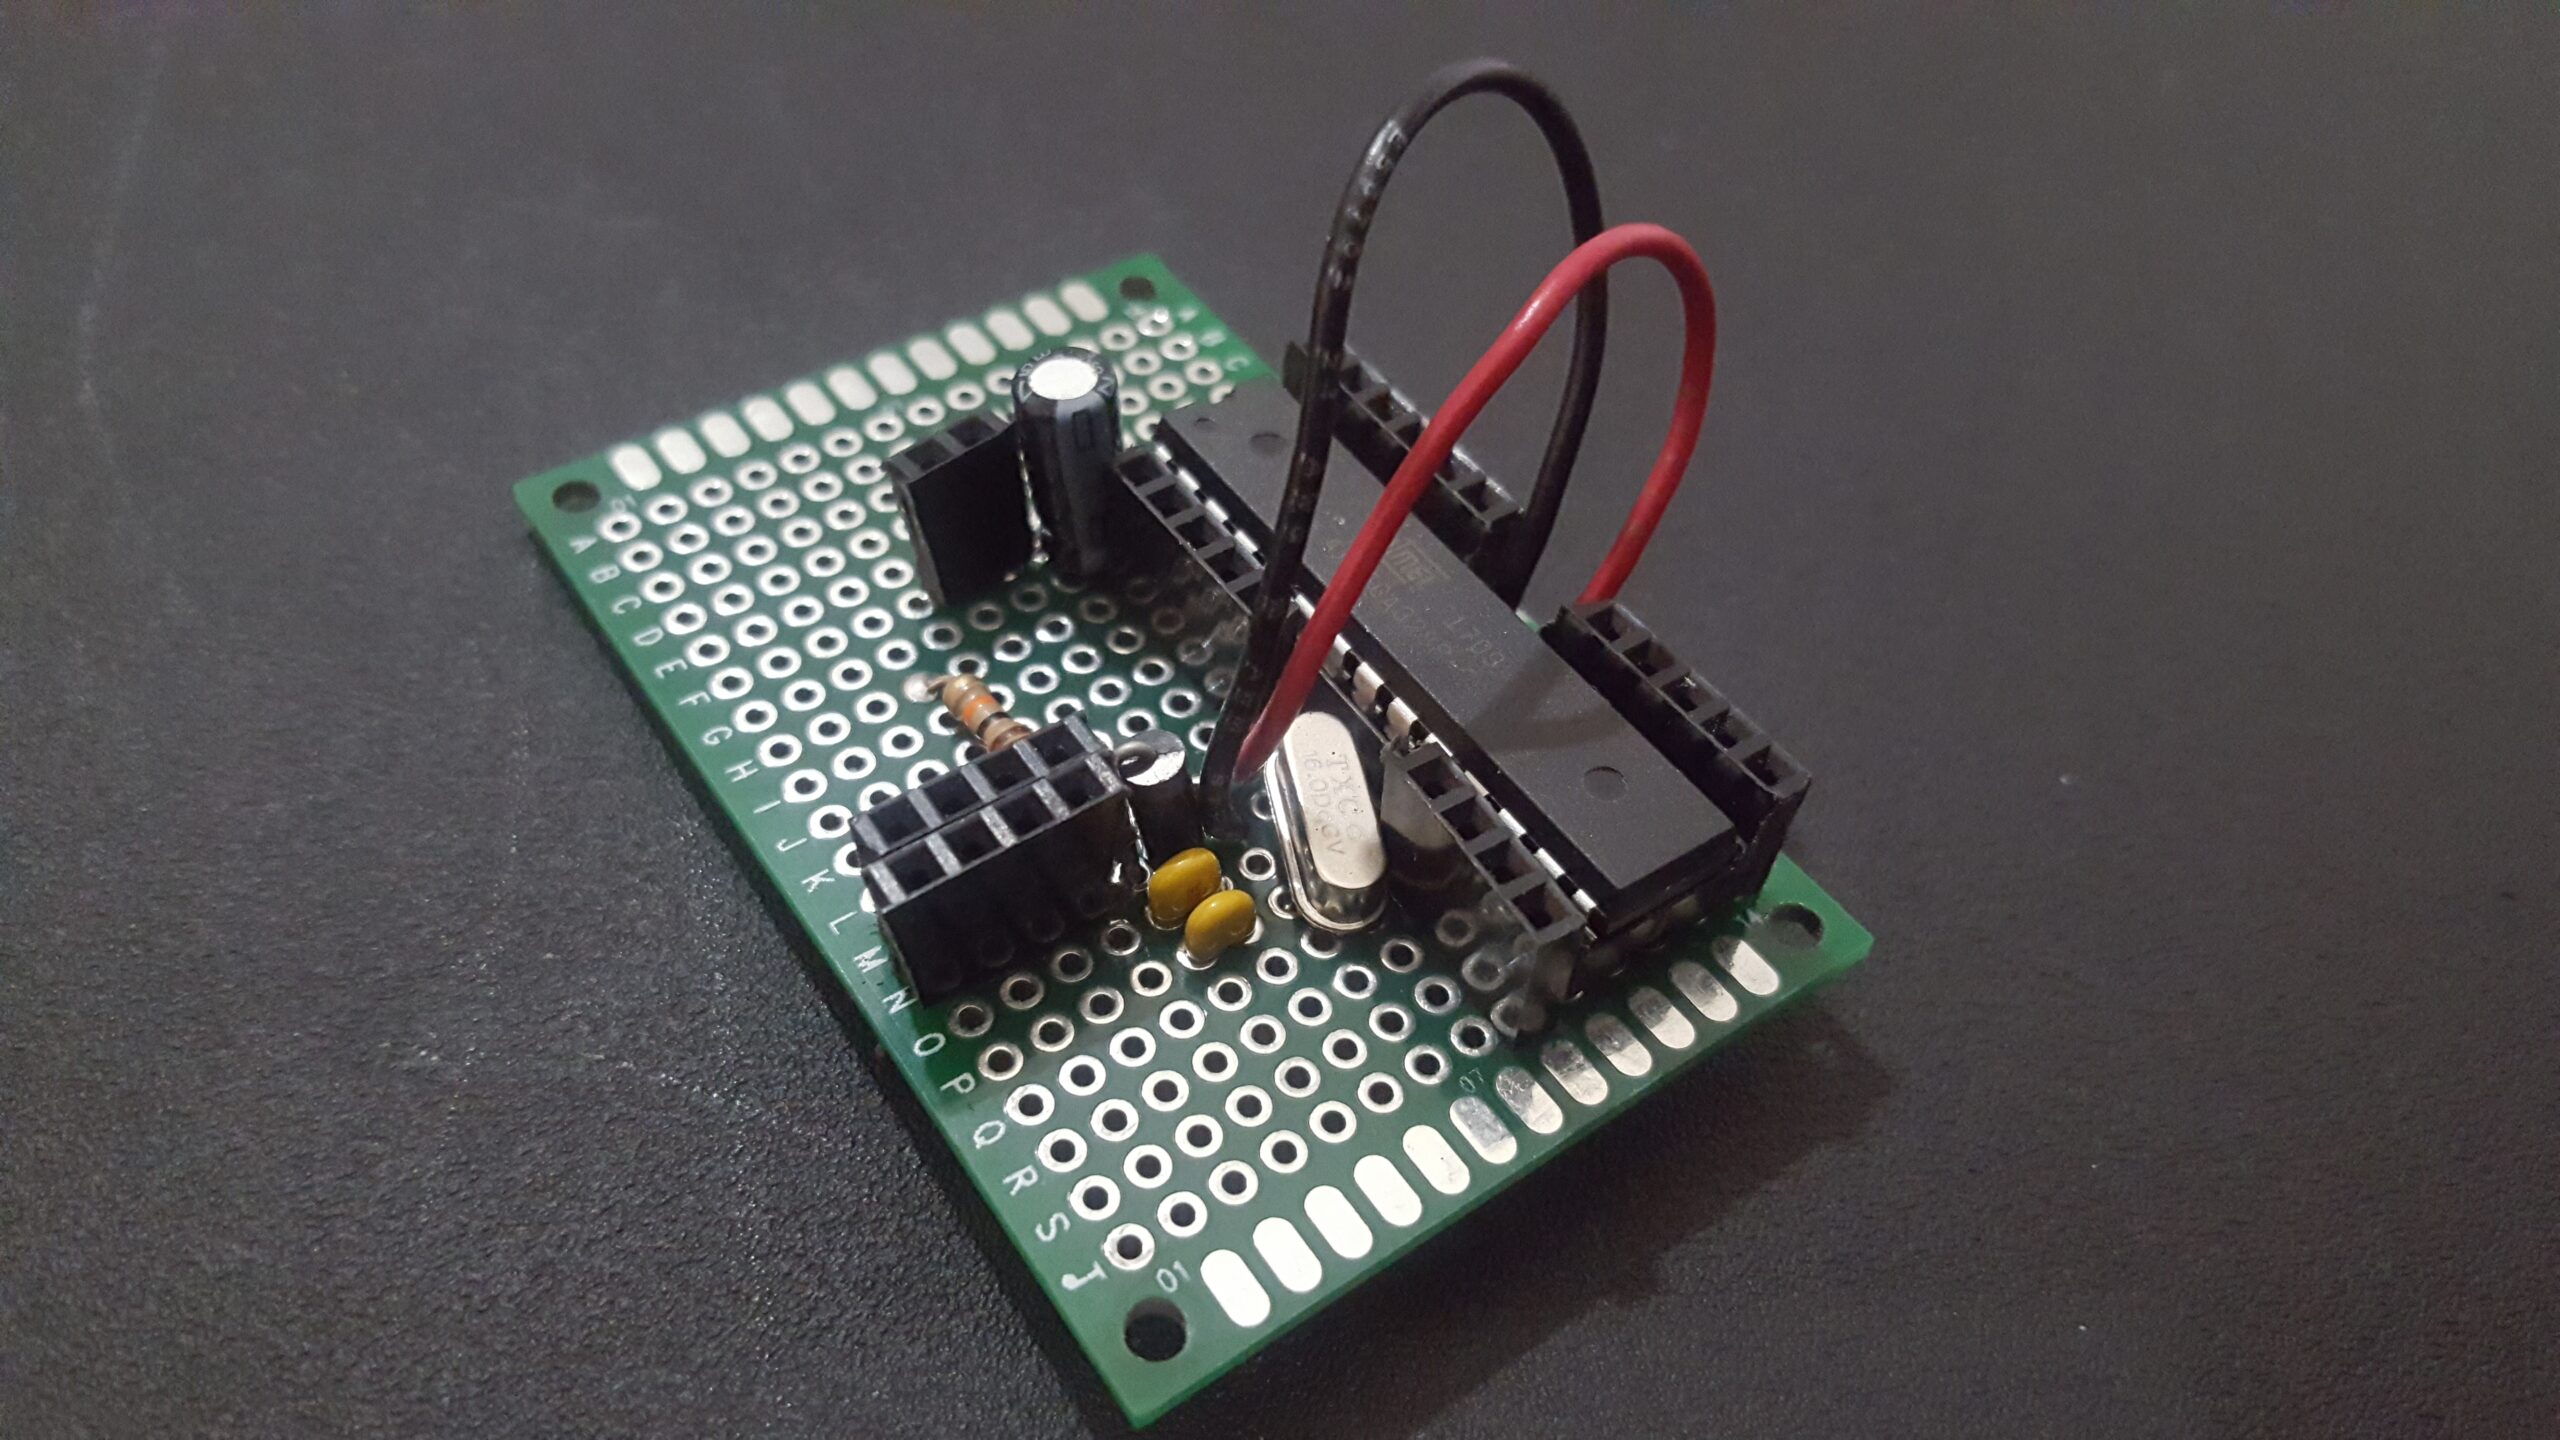
Making the stand alone arduino is a great way to learn more about the µcontroller (microcontroller) that powers the official Arduino µcontroller as its the brains that controls all the inputs & outputs, data processing, etc. of the controller. While using an official Arduino (the capitalized ‘a’) or clone is useful, the experience isn’t the same as building, programming, & completing your own. An official Arduino costs $22, a clone costs $10, which is cheaper, but doesn’t compare to the $4 expense needed to assemble your own. An added benefit is that the chip is an easy $2 replacement if you happen to burn it out, which will happen often as you start your arduino journey.

Continue reading “Making Your Own Arduino”

Programming The ATTiny84

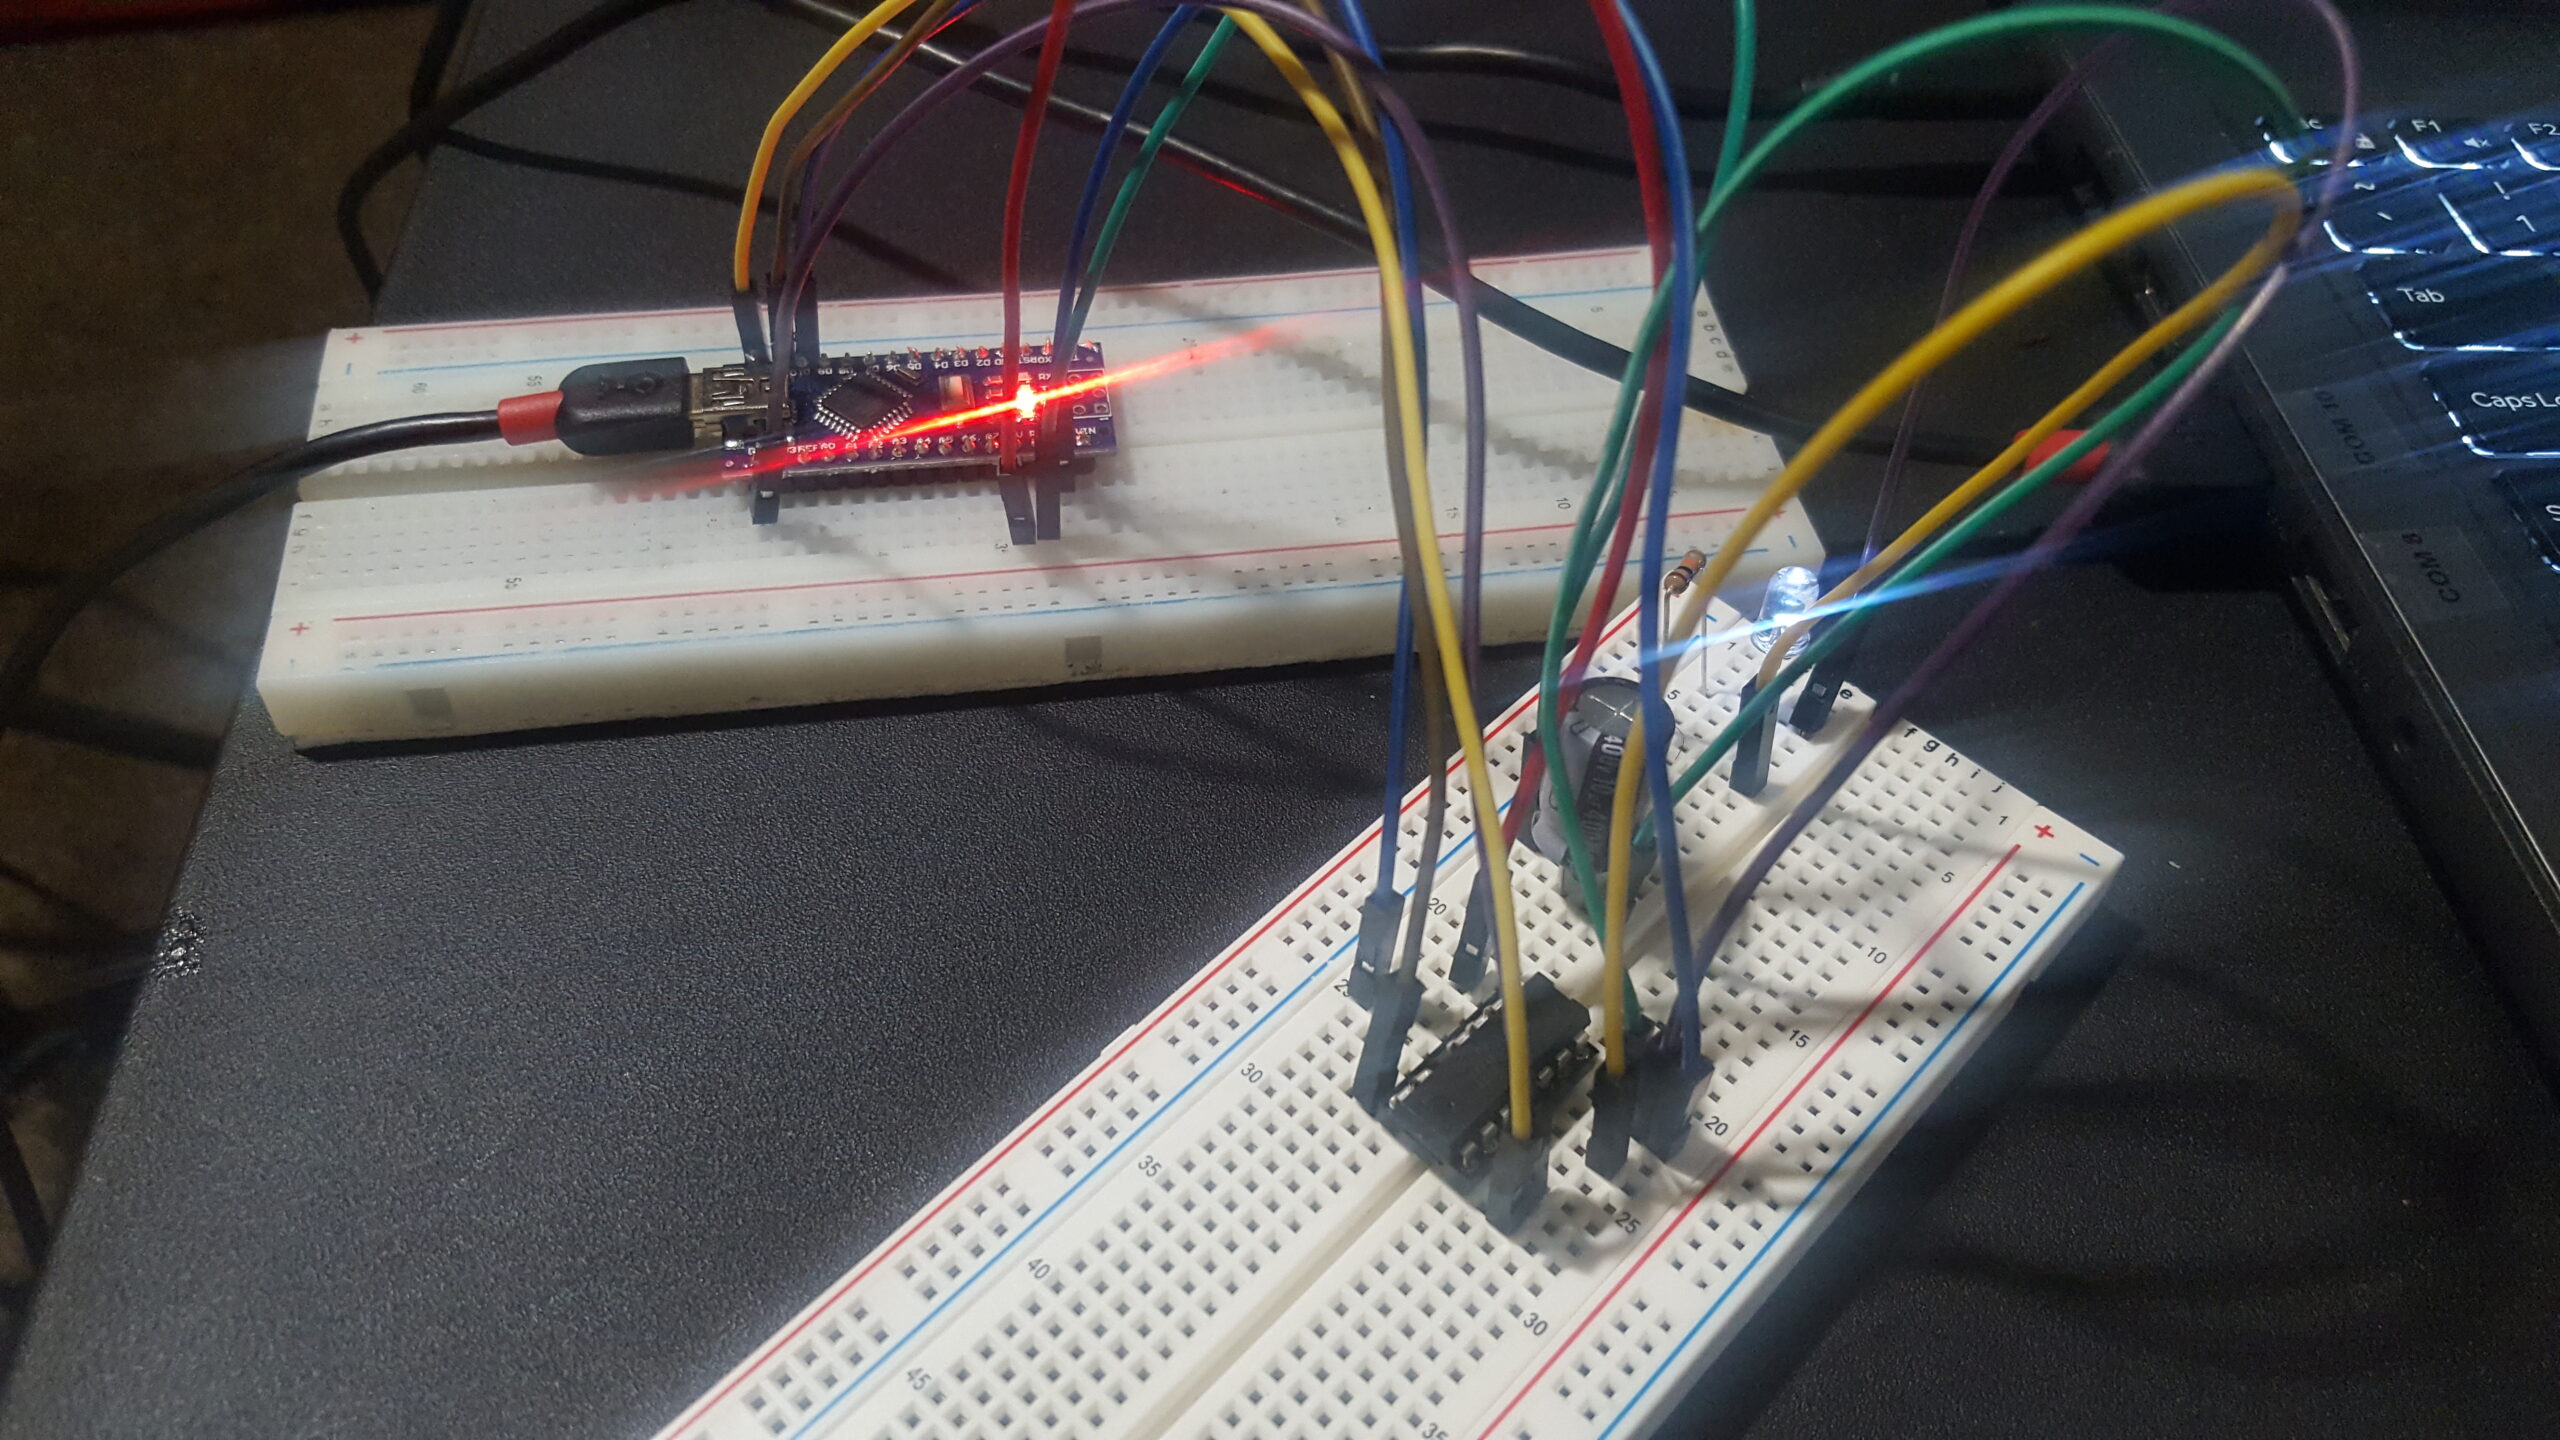
The ATTiny84 is a smaller µcontroller I purchased as a replacement for the ATMega328-pu circuit, a favored but unnecessary circuit to have for simple applications. After a bit of online research & hearing the tutorials from many different YouTubers & outdated websites, I’ve decided to make my own guide to tell you how I assembled my ATTiny84 µcontroller.


Required Items:

ATTiny84        10µF Capacitor        10KΩ Resistor        Single Color LED       Elegoo Uno        Chip Socket

Continue reading “Programming The ATTiny84”

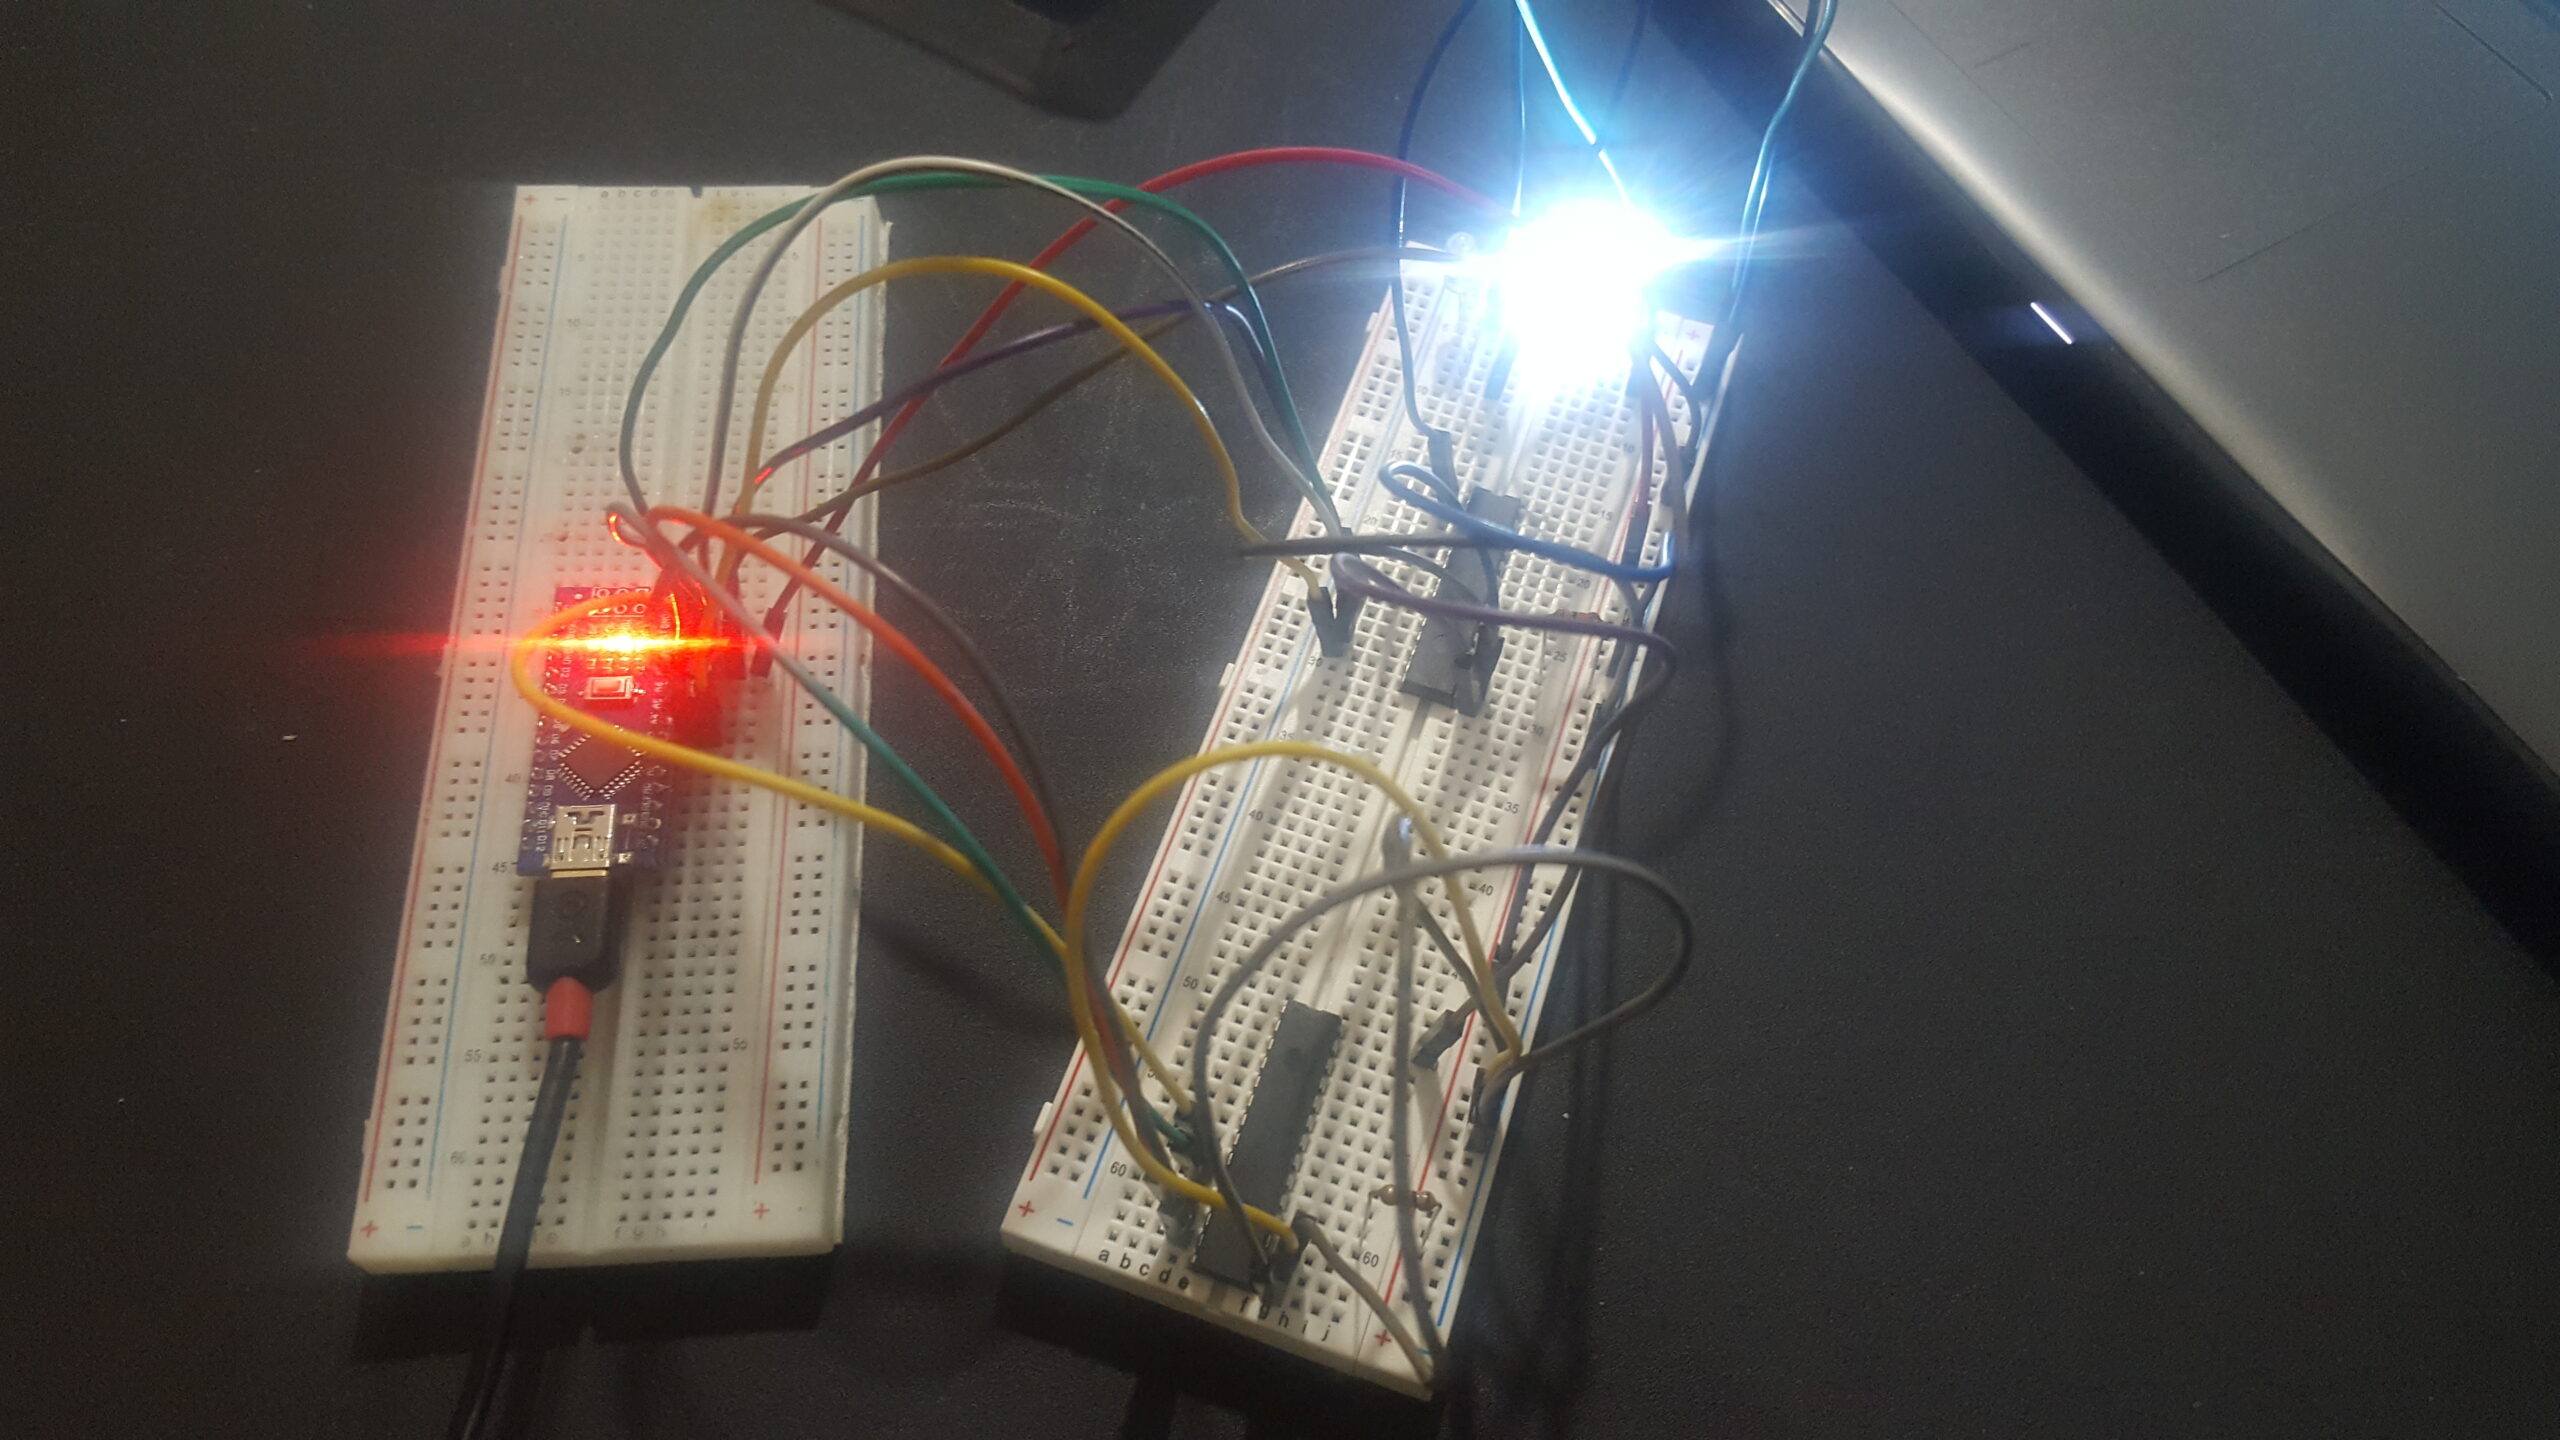
Creating The 139 Pin Arduino

In this post I spoke about using the MCP23017 to increase your digital GPIO ports from 11 to 27, which was remarkable in and of itself, but pales in comparison to what I’ve recently found. Instead of a simple 27 GPIO’s, how about we increase it to a hefty 139 arduino ports? All we must do is make a few changes to the previous code used in the Adding Arduino Digital/ Analog Ports post from before.


Required Items:

Analog Mux        Digital Mux(x8)        Digital Mux Adapter(x8)

Continue reading “Creating The 139 Pin Arduino”