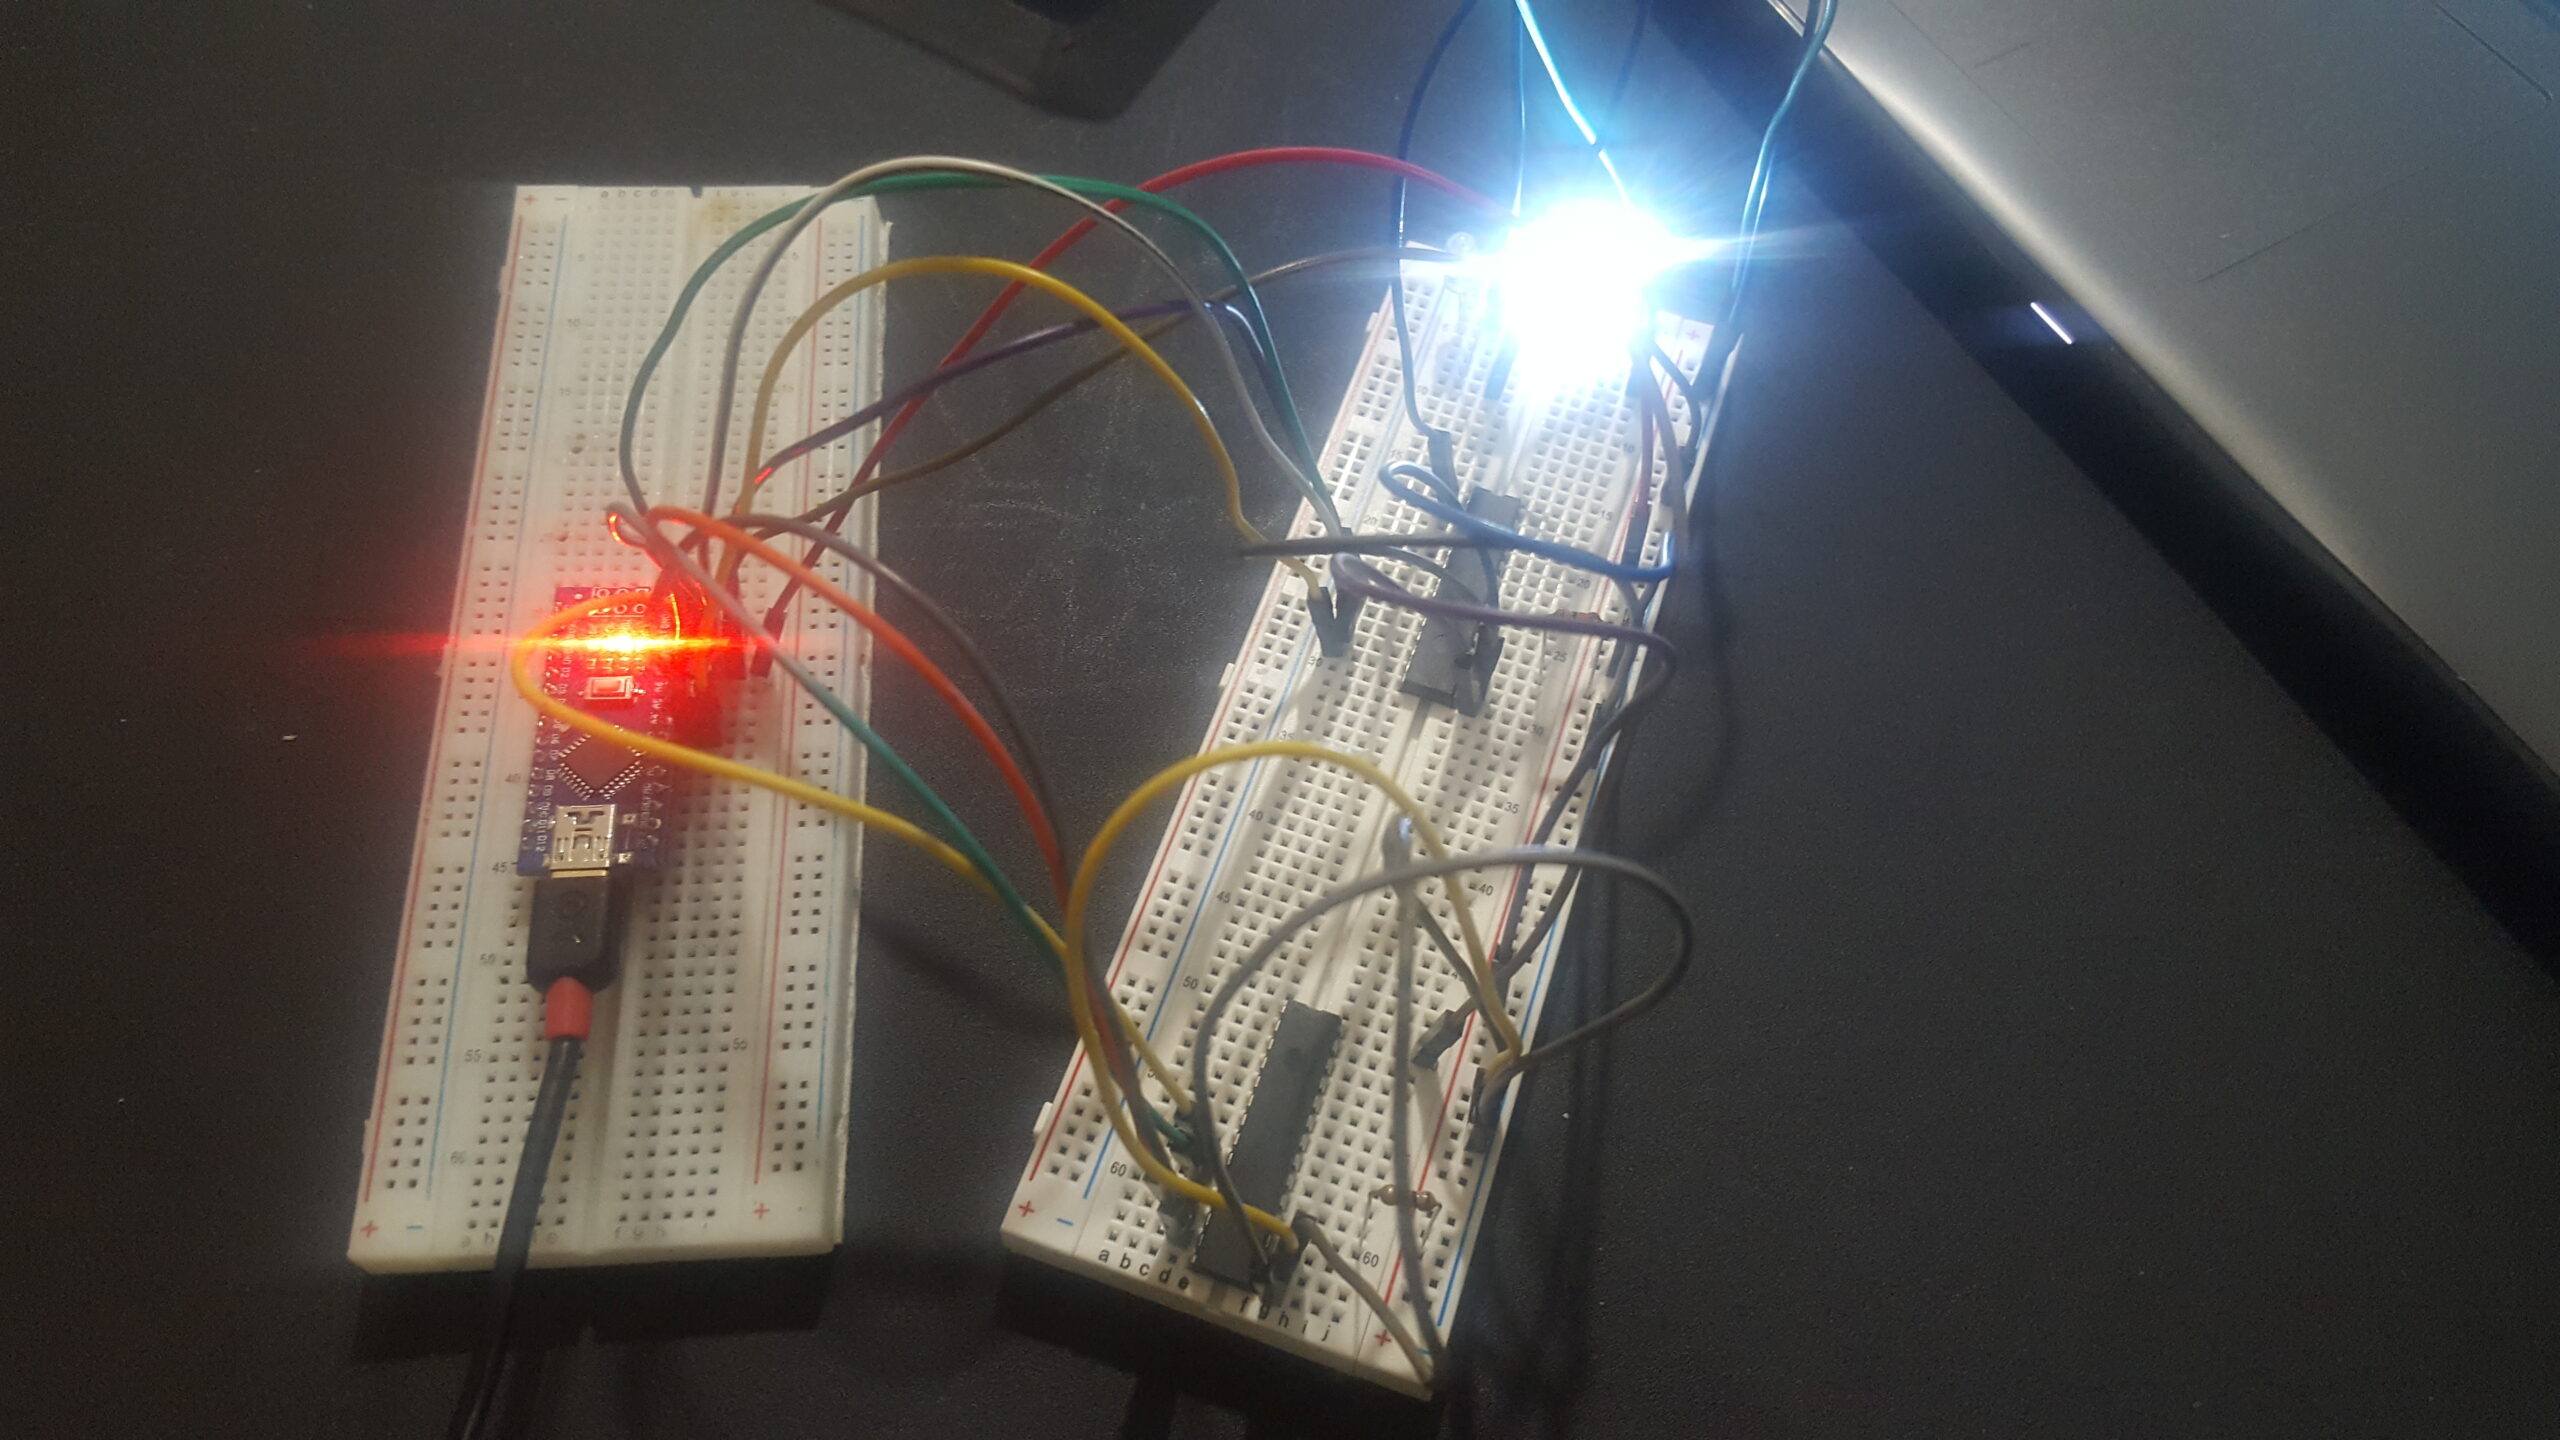
Making Your Own Arduino

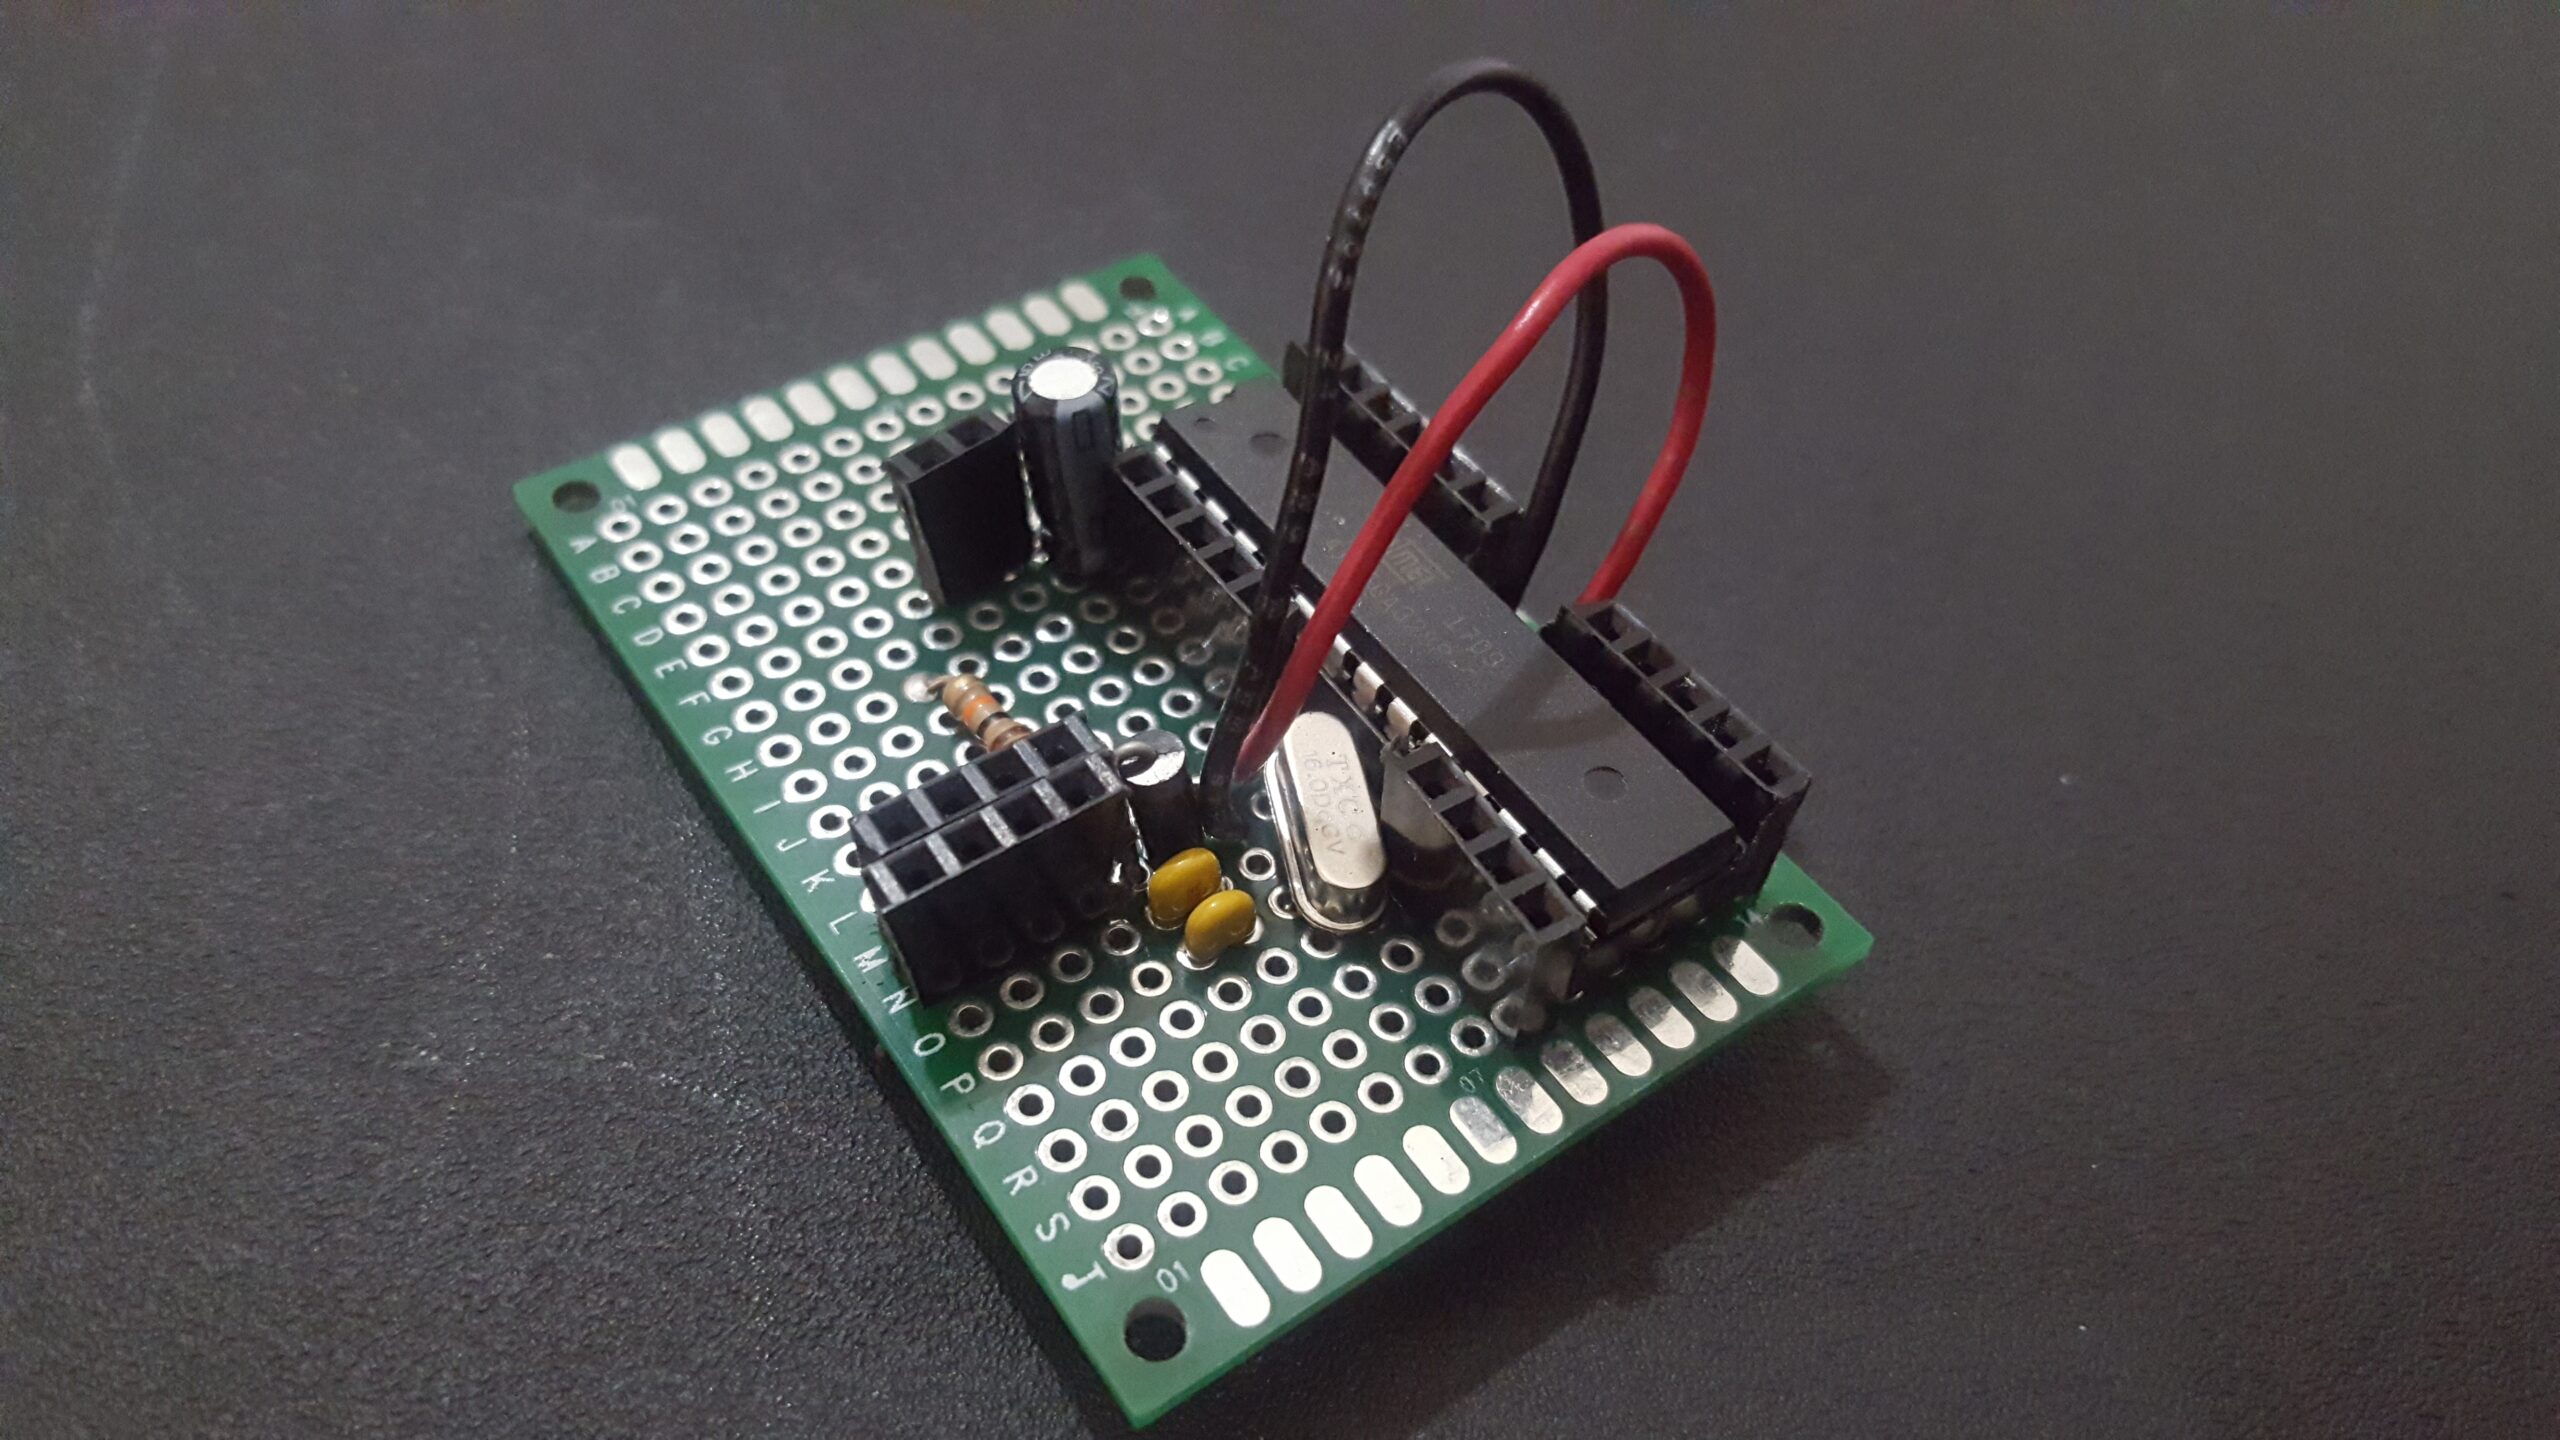
Making the stand alone arduino is a great way to learn more about the µcontroller (microcontroller) that powers the official Arduino µcontroller as its the brains that controls all the inputs & outputs, data processing, etc. of the controller. While using an official Arduino (the capitalized ‘a’) or clone is useful, the experience isn’t the same as building, programming, & completing your own. An official Arduino costs $22, a clone costs $10, which is cheaper, but doesn’t compare to the $4 expense needed to assemble your own. An added benefit is that the chip is an easy $2 replacement if you happen to burn it out, which will happen often as you start your arduino journey.
Continue reading “Making Your Own Arduino”

Programming The ATTiny84

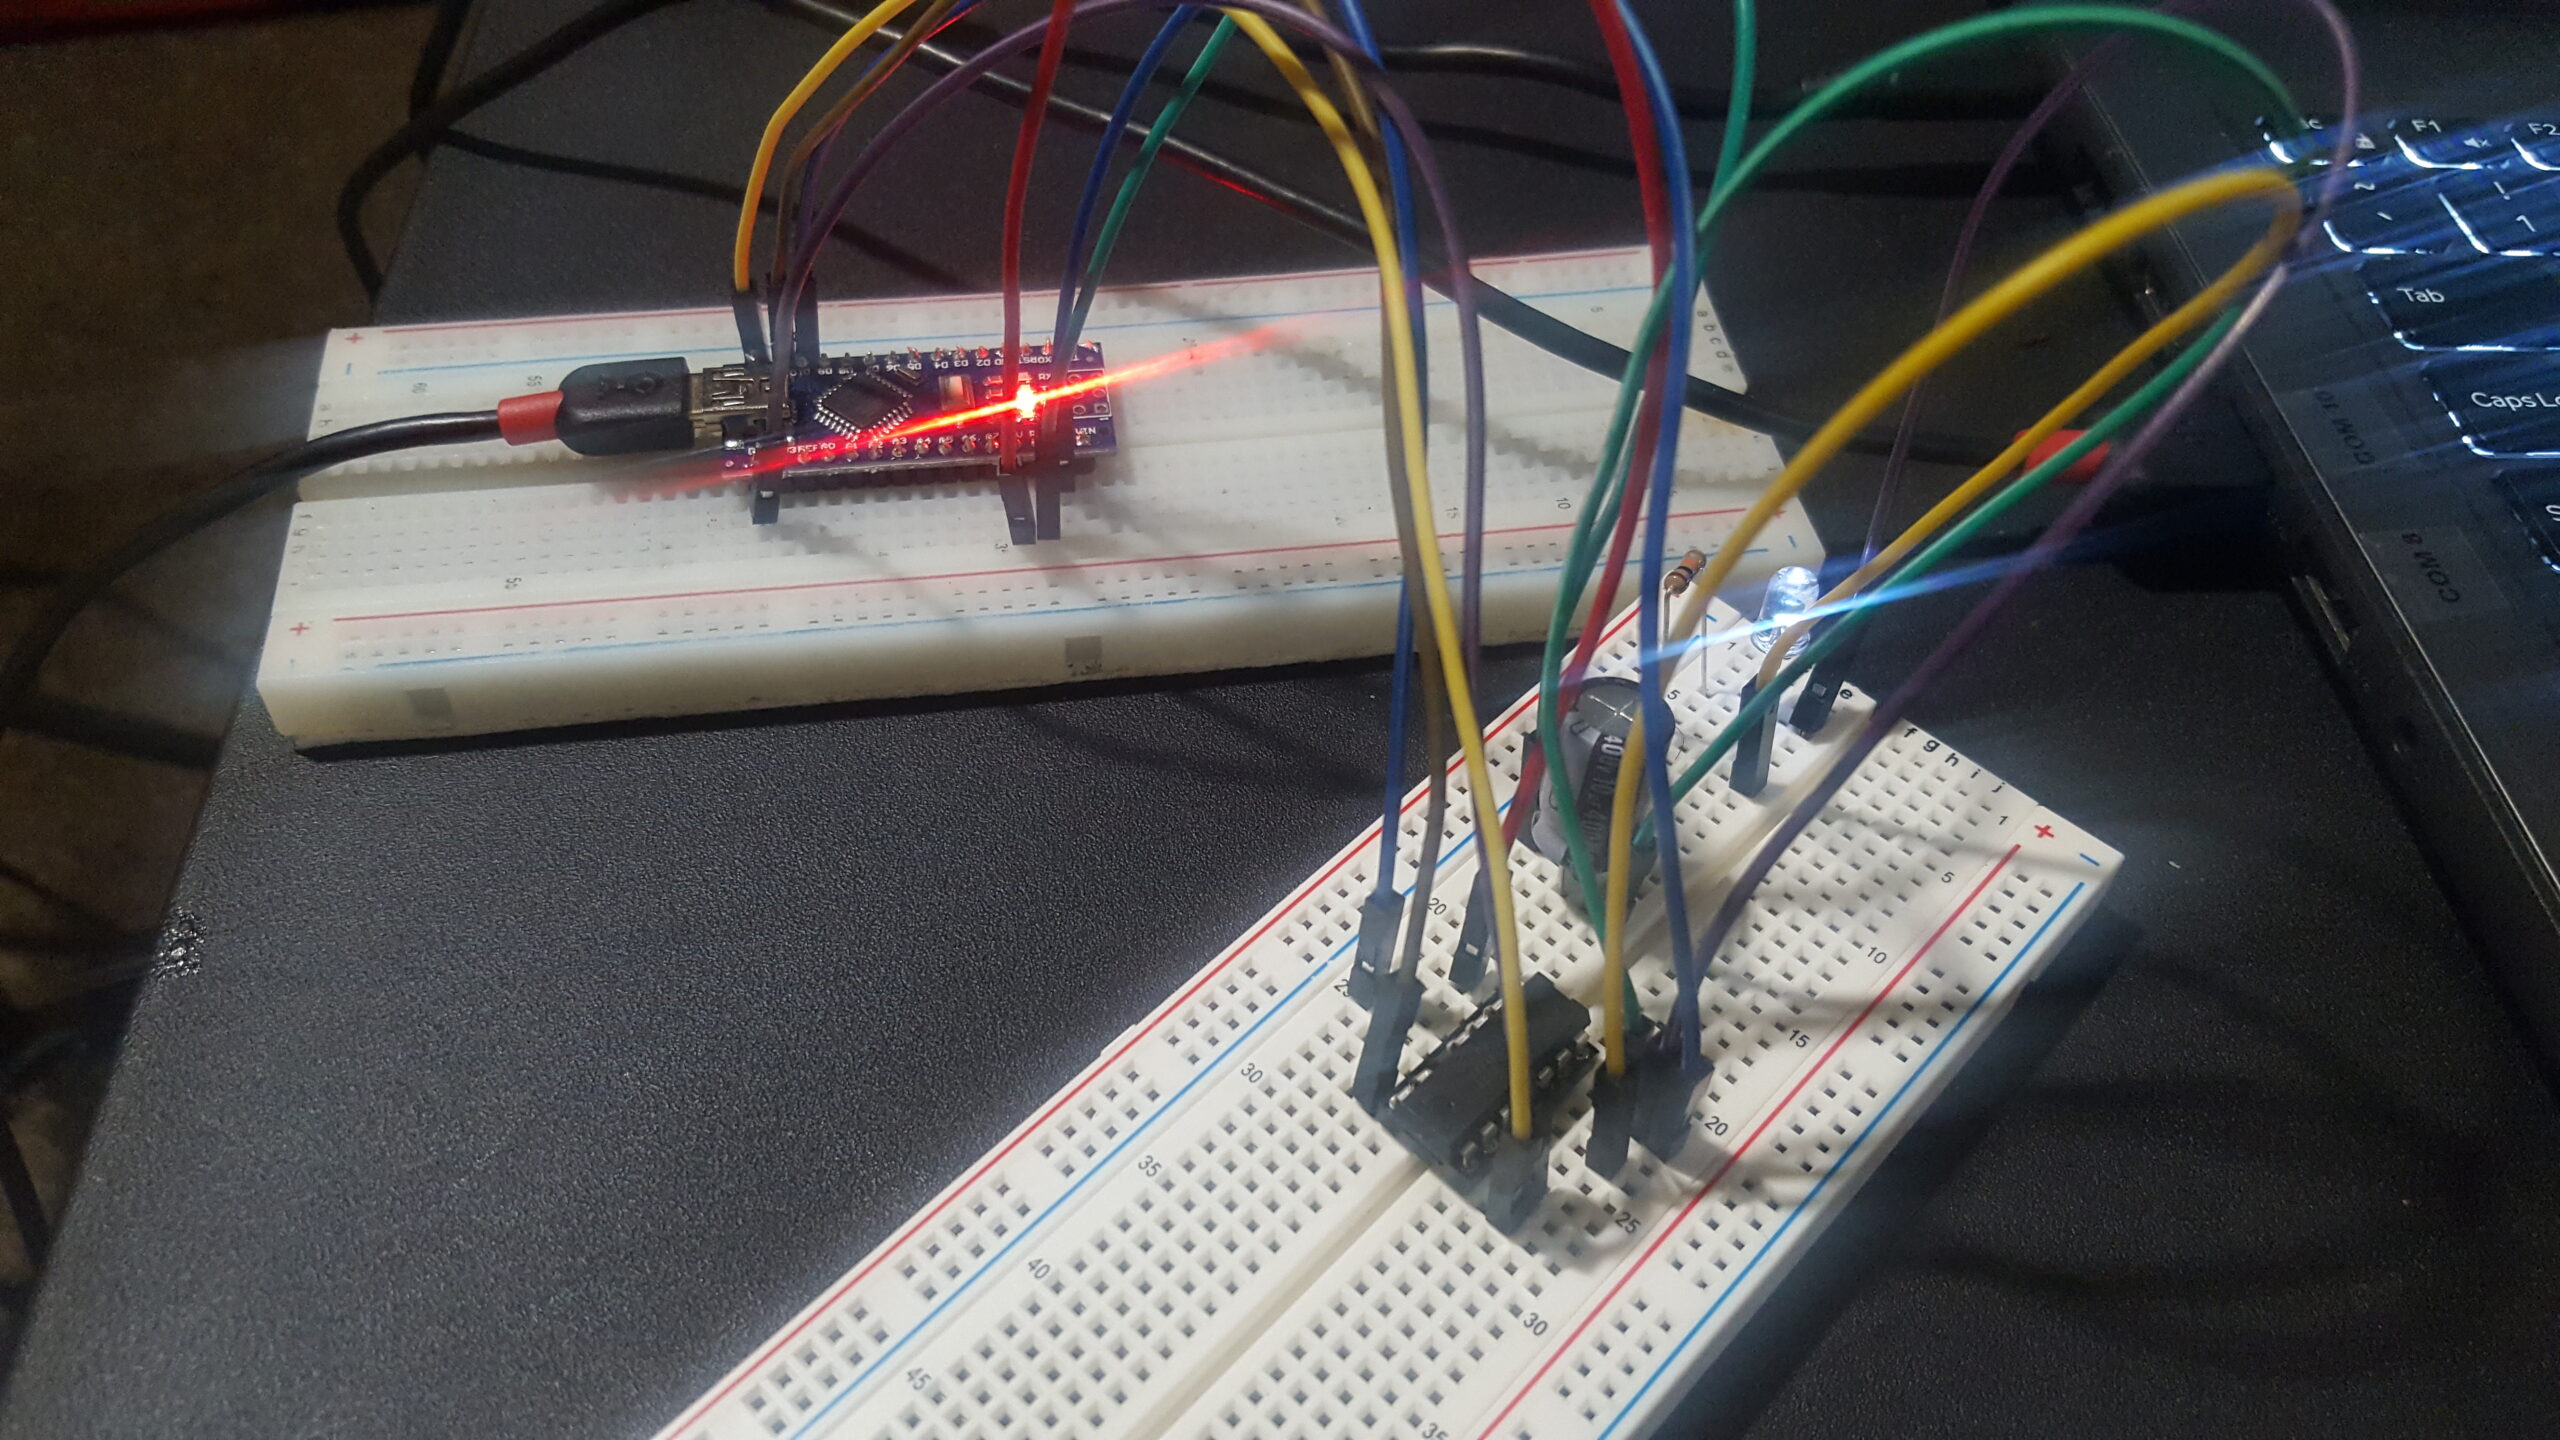
The ATTiny84 is a smaller µcontroller I purchased as a replacement for the ATMega328-pu circuit, a favored but unnecessary circuit to have for simple applications. After a bit of online research & hearing the tutorials from many different YouTubers & outdated websites, I’ve decided to make my own guide to tell you how I assembled my ATTiny84 µcontroller.


Required Items:

ATTiny84        10µF Capacitor        10KΩ Resistor        Single Color LED       Elegoo Uno        Chip Socket

Continue reading “Programming The ATTiny84”

Creating The 139 Pin Arduino

In this post I spoke about using the MCP23017 to increase your digital GPIO ports from 11 to 27, which was remarkable in and of itself, but pales in comparison to what I’ve recently found. Instead of a simple 27 GPIO’s, how about we increase it to a hefty 139 arduino ports? All we must do is make a few changes to the previous code used in the Adding Arduino Digital/ Analog Ports post from before.


Required Items:

Analog Mux        Digital Mux(x8)        Digital Mux Adapter(x8)

Continue reading “Creating The 139 Pin Arduino”